As I write this, I’m lying in the porch of my tent in the garden, having spent the morning making repairs and while I’m doing the Outdoors 101 and Camping for Beginners series, it seemed it would be a good idea to do a post on how to repair a tent. You’ve bought it, you’ve figured out how to pitch it and now it’s got a problem.
1 Broken windows
I assumed the plastic film windows of my tent were unbreakable. Until, on winter camp 2019, I went to brush off ice and discovered it was so cold that the plastic shattered like a crystal goblet. Since then it’s occurred to me that they can probably tear reasonably easily under non-polar conditions so let’s include it in this post.
I wish I still had the original of this photo and not just the Instagram of it.
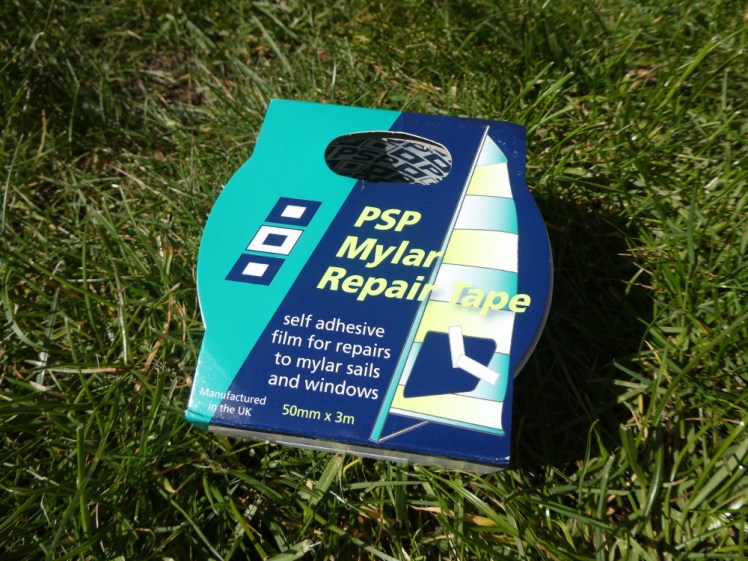
Fortunately, it’s nice and easy to repair broken tent windows. Get yourself some mylar PVC window repair tape! I got mine from Point North Profabrics (I had to order some more since I began this post; I ordered it at 15:08 on Friday and it arrived 08:40 on Saturday!) but if you’re after an actual physical shop, you’re probably better off looking in sailing shops than camping shops – this stuff is far better advertised for repairing windsurf sails than tent windows.
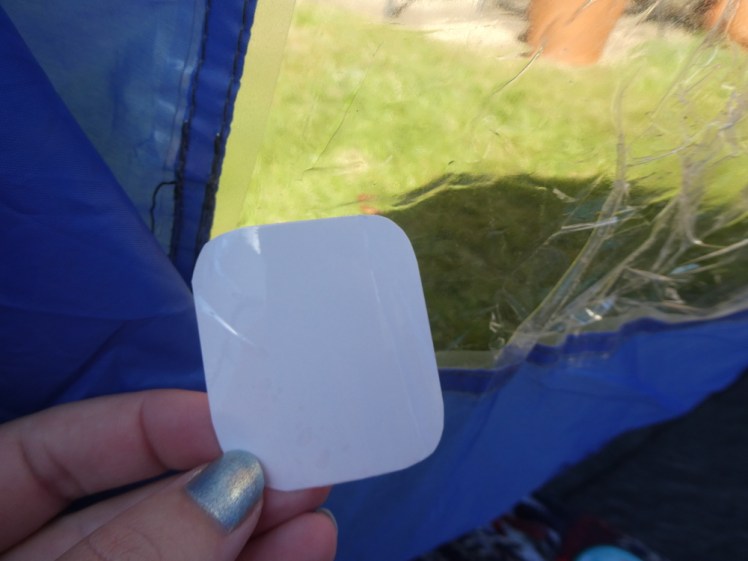
You just stick the window back together. Round off the corners of the tape so it doesn’t lift, peel off the backing, press the tape along one end of the tear and try to fold all the pieces back into shape as best you can and get the tape as flat as possible. Do both sides and make sure it’s well and truly covered – if you need to do two strips to make sure you get every fraction of an inch of tear, then do.
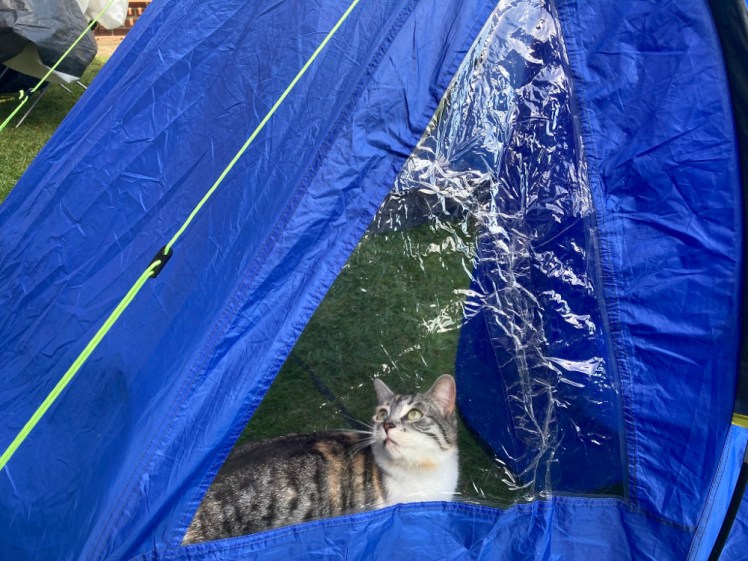
It doesn’t look quite as good as the original unbroken window but it’s not bad considering it’s torn and taped up. My experience is that the tape lasts well. I fixed my windows two years ago and it’s not peeling yet, nor has it come off in any of the downpours I’ve camped in since then, nor has it leaked.
2 Tears and cuts
The only time I’ve encountered a torn (or cut) tent was on Guide camp in 2015, less than five minutes after we’d inspected all the tents and found them intact. To this day we don’t know what happened. It was a surgically clean cut about three inches long, through inner and outer, the sort that can only be done with the sort of sharp blade that Guides shouldn’t be carrying on camp and even my Rangers, who were Guides at the time and sleeping in this tent, still don’t actually know who did it.
Again, fairly simple repair. Your tent may come with a repair kit. If it doesn’t, it’s the sort of thing you can pick up at any outdoors shop. It should come with a tube of suitable glue and a few pieces of tent fabric for patches. You may need to sew the edges of the tear or cut together to ease the tension – it doesn’t need to be pretty, it just needs to hold the edges together. Then glue the patch on as per the instructions. I suspect some glues go on the patch and then you wait until they’re tacky before you put the patch on the tent. Read your own instructions for the exact details. Anyway, if you have a choice of colours, try to match your own tent, cover the tear entirely, even if it takes multiple patches and make sure all the edges and corners are well stuck down, otherwise they’ll start to peel off. Rounding the corners might not be a bad idea. I think I’d patch it inside and out. Then leave it to dry for as long as possible – you do not want to roll up the tent and find you have to literally tear it to pieces next time you unroll it because you’ve glued it all together.
The inner is easier – match your thread colour to your inner colour and sew the edges together. This one will show so do it as neatly as you can. Don’t stitch too close to the edge; if the tear frays, your stitches will just fall out. By the way, if you’re a man who hasn’t noticed it’s 2021 and thinks sewing is Insufficiently Manly, please have a think about the manliness of having the skills to repair your own shelter.
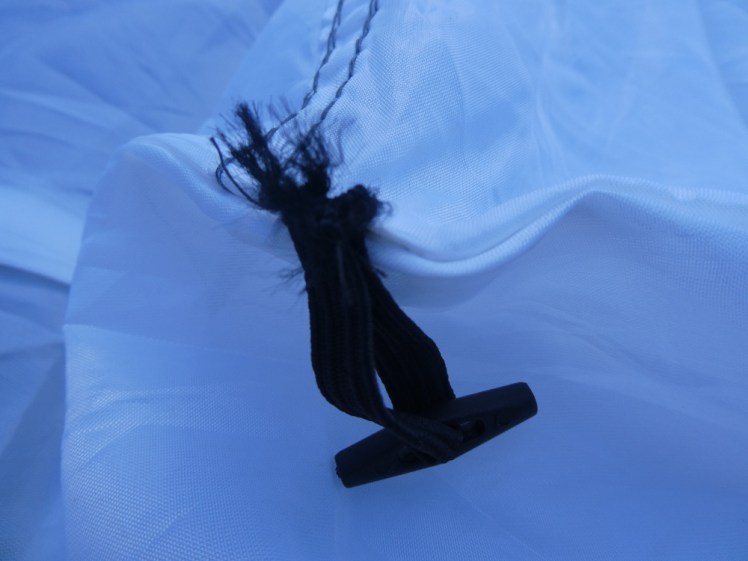
3 Broken loops
For me, this is the repair I have to do most often. In every tent I’ve encountered, the inner is attached to the outer by toggles attached on each side by an elastic loop. These often break. They’re really simple. Hold the two sides of the loop together and sew them up. I’d pick a matching thread colour but the actual sewing doesn’t need to be neat. Just get as many stitches in there as you can. I try to sew a largish cross along the top and then enclose it in a box but it’s hard to do when the tent is half-pitched and you’ve only got 5mm of width to do this bit of embroidery in, so just get your stitches in.
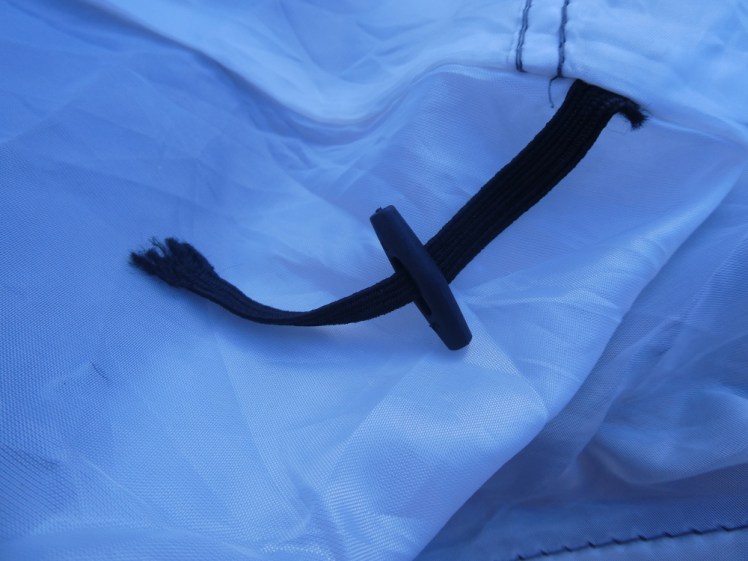
Today, having fixed a loop, I discovered said loop was coming unattached from the tent inner itself. I can’t get it back into the seam whence it came so I held it up against the seam and sewed as close to the edge as I could: needle through the inner and through the loop and then through the inner and through the loop, always going in the same direction instead of backwards and forwards. Try to keep it neat-ish but again, you need to get lots of stitches in.
(It turns out the reason some of the loops break is that the cat up the road jumps up on top of the inner when I’m not looking and puts too much strain on the loops.)
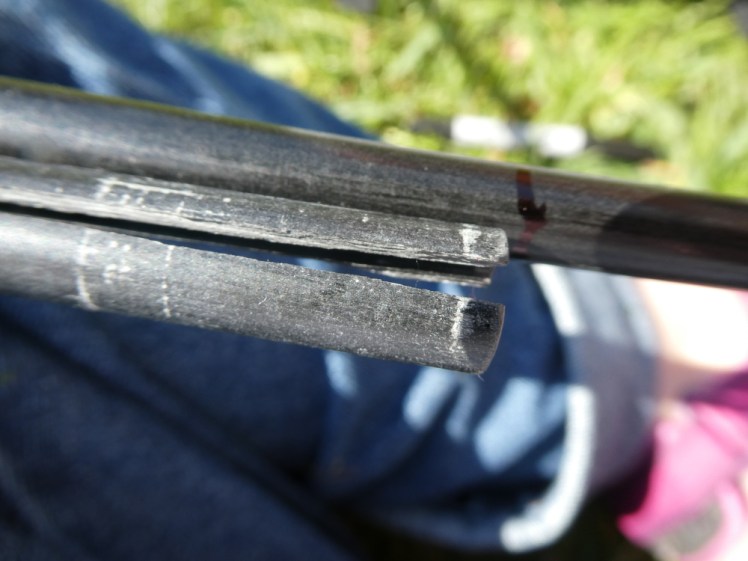
4 Broken poles
I’ve never ever had to repair a broken pole before! Unfortunately, I had three snapped sections and one was really badly snapped because I tried to repair it with ducktape for too long and the pressure that put on the rest of the pole broke it all the way up.
For an emergency repair, roll the entire pole horizontally in ducktape. If you just wrap it around the broken section, the pole doesn’t flex correctly and you’ll make it worse. It’s a sleeping bag, not a bandage. Then get the broken section replaced as soon as you can.
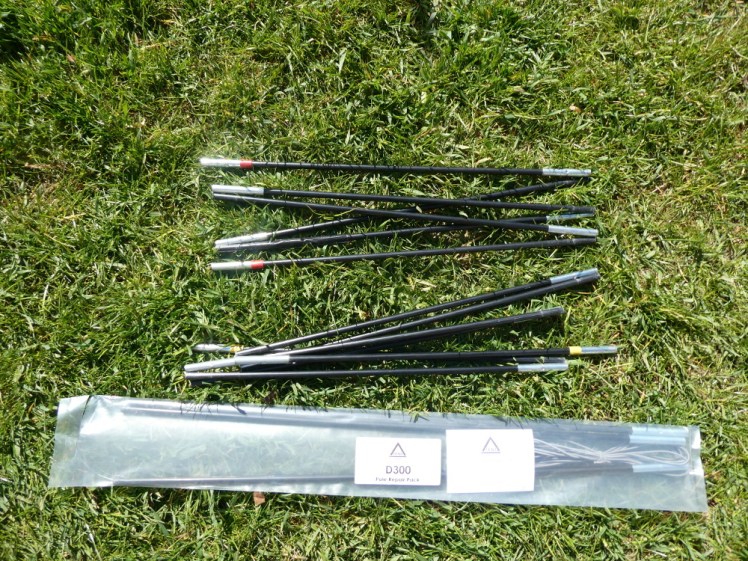
You’ll need a few things:
- Replacement pole sections
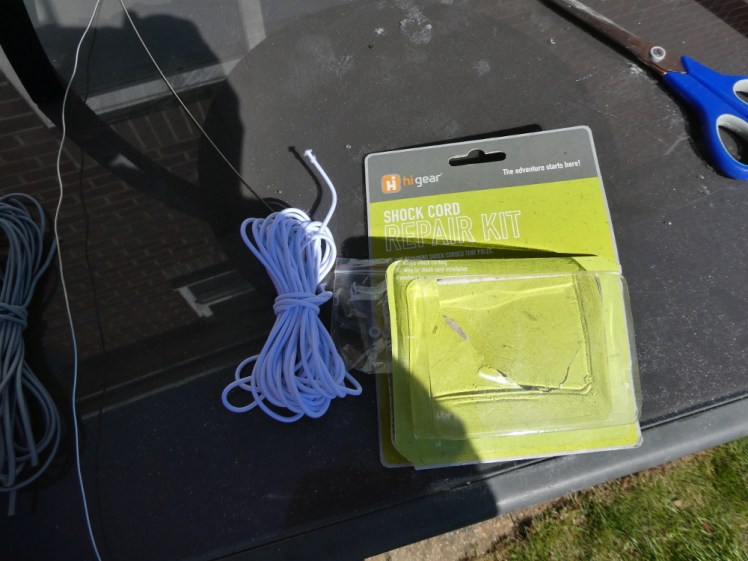
- Shock cord repair kit, including wire & washers
- Sharpie
- Scissors or knife
- Needle-nosed pliers
- Hacksaw
I took my broken poles to my local outdoors shop to compare them to the spare poles. It turned out mine are smaller than the ones on the shelf so I googled my tent model and that led me to tentspares.co.uk which sells repair kits of three suitable poles, cord and wire – search for your tent model to get the right ones. I expected the poles to be pre-cut to the right length but they weren’t. Of course they weren’t; my tent has three poles and they’re all different lengths and so are their sections.
I did succeed in buying a shock cord repair kit off the shelf and it worked better than the one that came with the poles because it had a lot more cord and it had washers and it didn’t have a hook in the wire. I’ll get onto that.
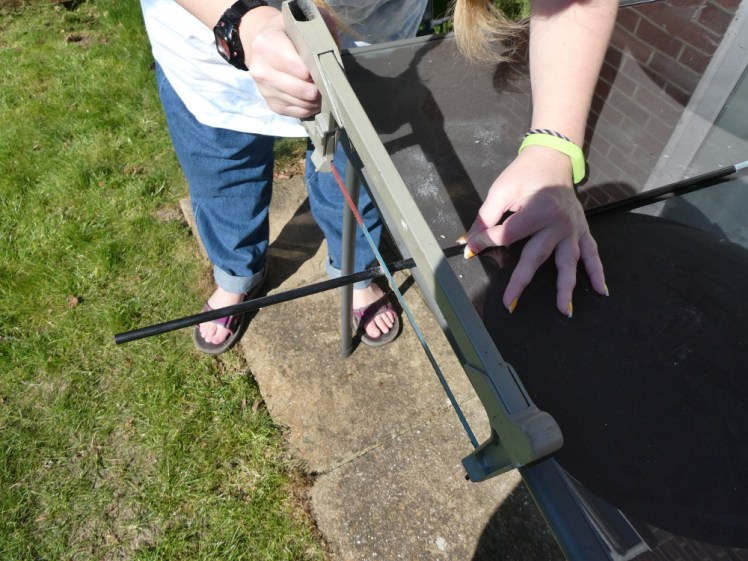
Step One: measure & cut your poles
Take your replacement pole section, measure it against the broken one and draw a line around it with a Sharpie. I don’t entirely trust that all sections in the same pole are the same size so be certain by measuring the one you’re replacing. Then cut it off with a hacksaw. I did this on the table in the garden, holding it down with my left hand and cutting with my right. It was easier when Dad came along and held onto the other end. You don’t need a vice, you just need a saw and a bit of patience. I’m terrible with saws but it’s a thin fibreglass pole and as long as you go slow and gentle, it just eats its way through in a minute or so.
I used Dad’s big hacksaw for this repair but then I pitched it again a week later and another pole broke so I’ve ordered another pack of poles and invested in a junior hacksaw of my own for the princely sum of £2.50 from Homebase.
If you have a piece of sandpaper or a file, you could just round off the end of the pole a little bit, just to make it a little less sharp.
Step Two: dismantle the pole
We’re going to work one pole at a time. Take the first pole with a broken section, stick your needle nose pliers down the end and try to grab the knot in the existing shock cord. It feels like it would be easier to just cut the cord between two sections but you still need to remove it from that first pole, so you might as well start there. This bit is a tiny bit harder than people make it sound.
When you’ve got it, you can either untie the knot or cut it off. You may be able to reuse this cord but I suspect you’re mostly not going to have enough slack to either get it through all the poles again or tie it off, hence the new cord. When it’s undone or free, unthread your poles and lay them out, end to end, in the right order.
Replace your broken sections with the new poles you’ve just cut to size and discard the broken ones.
Step Three: rethreading the poles
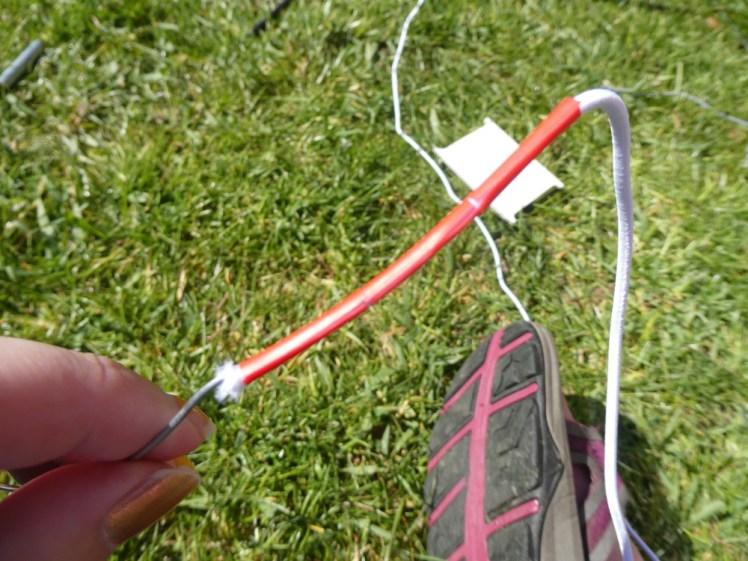
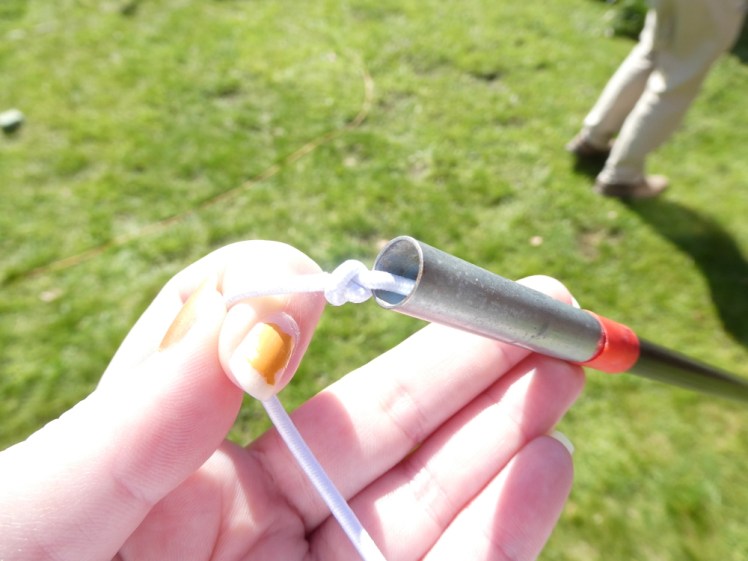
Cut a piece of new cord, long enough to lay along the length of the poles plus a bit extra. When you’re finished, that cord is going to be tensioned so this should give you enough to be able to thread it. Slide a washer onto one end and tie a knot. The knot should stop the cord from sliding inside the pole; the washer makes certain of it.
Then take the other end and thread it through your first pole, starting from the end, not from the bit that’s going to join onto the second section. This may be the difficult bit.
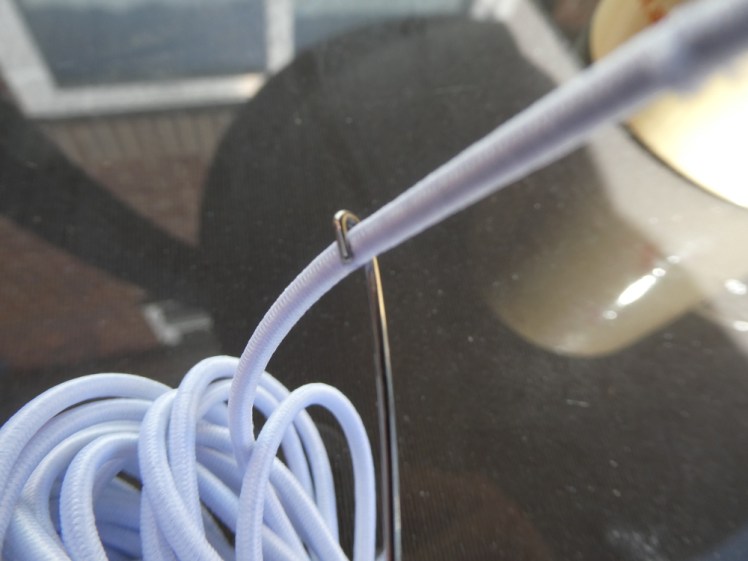
My poles came with a wire with a hook on it. You’re supposed to hook the elastic on and then poke the wire up the pole, dragging the elastic with it. Far too fat for my narrow little poles. The shock cord repair kit came with a wire without a hook on it and the instructions to tape the elastic to the wire. Too fat for my narrow little poles. For a while I was stumped. Then, checking whether the elastic actually fitted up my poles at all, I discovered I can thread it perfectly well without the wire. If your poles are bigger, the wire might work for you but it’s no use at all on 8.5mm poles.
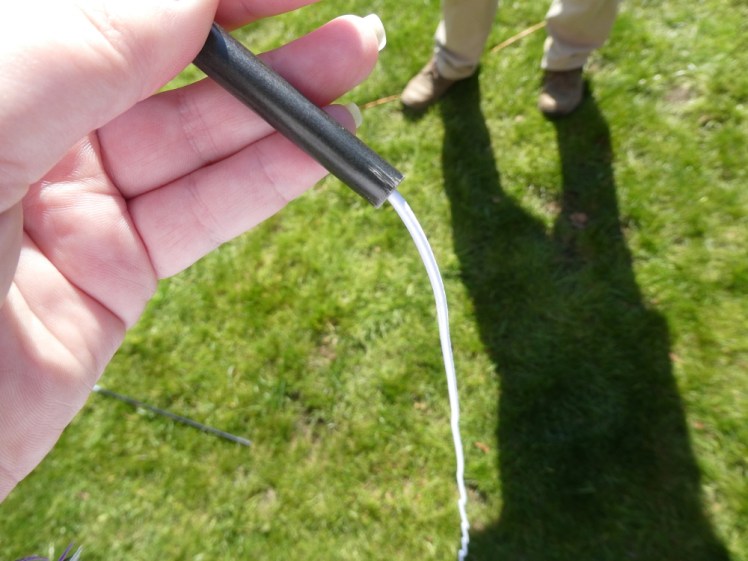
When you’ve figured out how to thread the poles, do it. Slot the poles together as you go.
Step Four: tying off the new cord
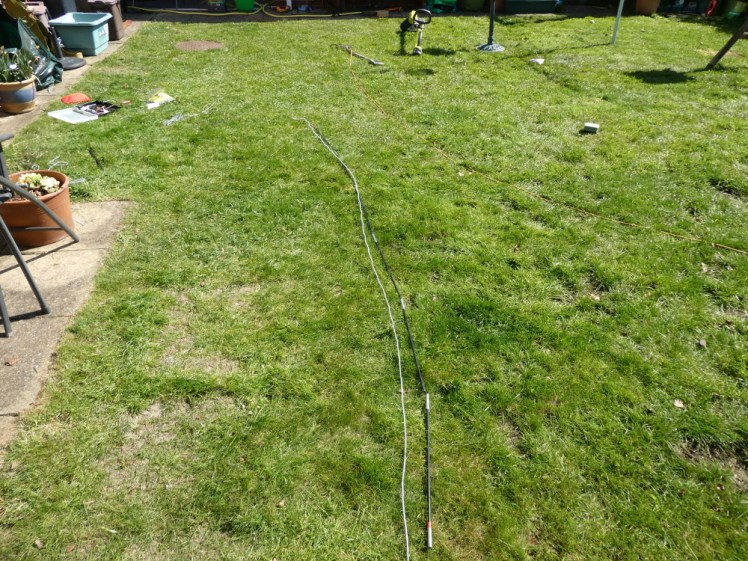
When you get to the end, you should have a long springy complete pole with a load of elastic hanging out of one end. Thread another washer on and then pull the elastic tight. Not too tight; you don’t want it to give up and snap, but tight enough to hold the poles together correctly. Tie a knot as low down as you can and cut off the elastic, leaving just a little tail. Check you’ve got it right before you cut by attempting to fold up the pole and if it feels ok, go ahead and snip. If not, adjust your knot. Ta-dah! You’ve replaced the broken section and you have a complete pole!
Repeat for any other broken poles and use this opportunity to have a good look at all your others to make sure you haven’t missed any splits or cracks.
I know not all poles have the same hollow ends that mine do. If yours is different, you may be able to remove whatever’s on the end, repair as above and then put them back on. Otherwise, I’m all out of ideas since I’ve never encountered anything else.
And that’s it! That’s all the repairs I’ve encountered in my years of camping. If you’ve bent a tent pole, you can straighten it but it’s a difficult process and I advise you to spent £2 on a new packet of pegs instead of making the effort. Any other problems, leave a comment and I’ll investigate.

One thought on “Camping for Beginners: How to repair a tent”