Last lockdown I got quite into gardening, beginner-style, and as I’ve spent the weekend preparing and planning my updated garden, I thought I’d do a blog about how to grow vegetables for beginners. My baby lettuces and peppers brought me such joy last year and yet even this time last year I wouldn’t have cared.
If you want more expert advice, there are people far more qualified than me but if you have no idea where to start, I can do that. I’ve been the helpless beginner who has no idea what to do and I can explain as simply as it had to be explained to me.
My gardening journey began with Marks & Spencer. Our big Tesco was too busy, raided and empty by 9am and my dad, who was shopping for three households at the time, took to the small M&S, where we’d normally only go for the extra-tasty naan bread occasionally and the crisps that come in multiple shapes in the same bag. But for a month or two, it became our primary supermarket. Now, this is relevant because in spring last year, M&S were running a promotion called Little Garden, where you got a seeding kit for spending a certain amount of money. It seemed to be £20 but the FAQ, which still survives even though the promotion ended nearly a year ago, says “when you make a purchase”. After a few weeks, they started giving them away liberally – “help yourself to six if you want”, so we finished up with eight or nine. Three of them were flowers which didn’t get beyond sprouting but the rest were vegetables and they did so well that I’m doing it myself this year.
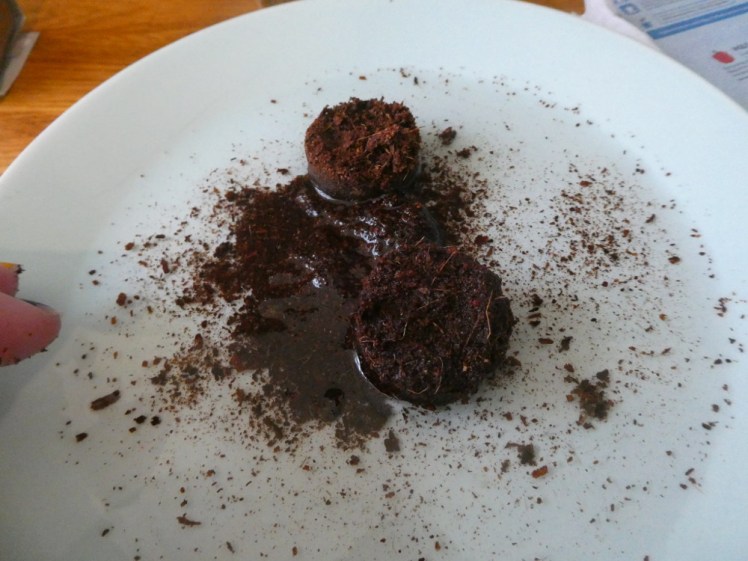
The Little Garden kits came with a biodegradable pot, a dehydrated soil pellet and a seed mat to make it all really easy. You pour some water, 200ml maybe, onto the seed pellet and it turns into lovely lush soil and then you pile it all into the pot, put the seed mat on top, seeds suspended in a piece of thin papery stuff, and bury it in a thin layer of soil.

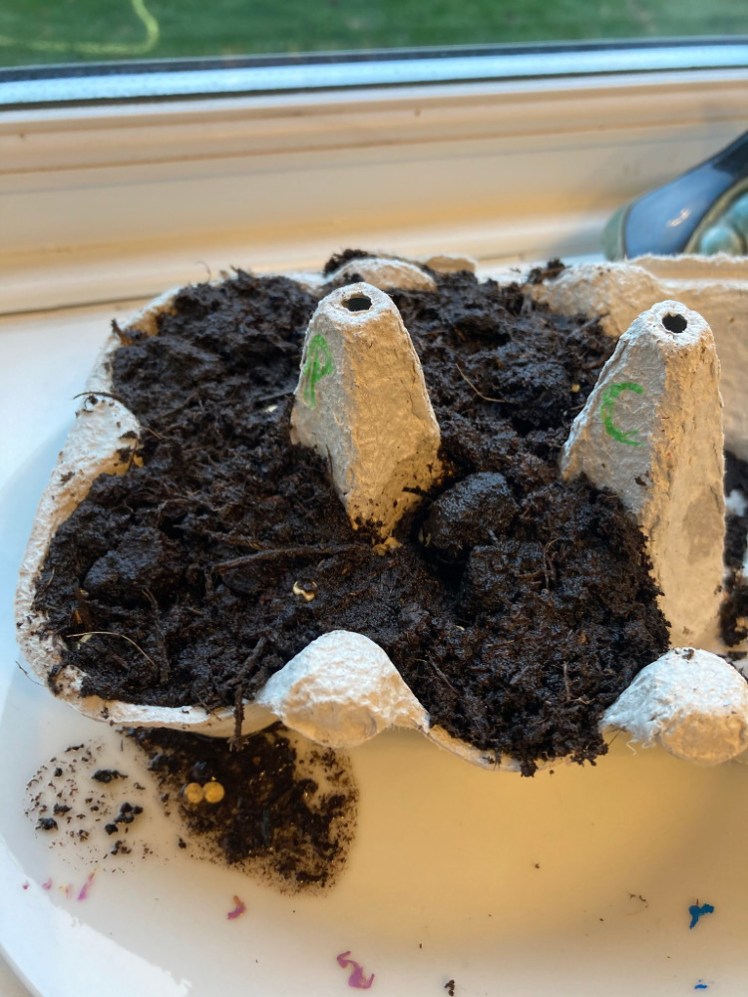
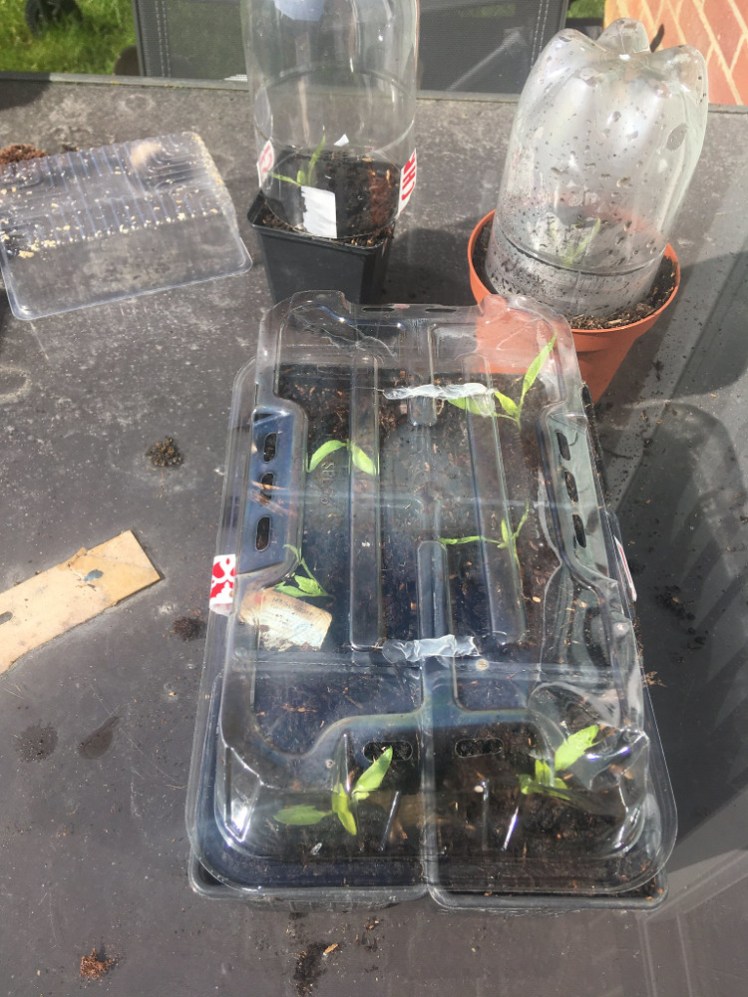
Not having a seedling kit this year, I used my imagination. Do I want to buy a lot of miniature plastic pots? Do I want to buy some biodegradable pots? Or do I just want to use a cardboard eggbox? Reader, I used the eggbox. They’re not quite as well-separated as I’d have liked but if you’re careful, an eggbox makes a wonderful nursery for tiny baby plants. I filled four segments with compost, scattered seeds randomly and buried them shallowly and then marked two compartments with a P for peppers and two with a C for chillis.
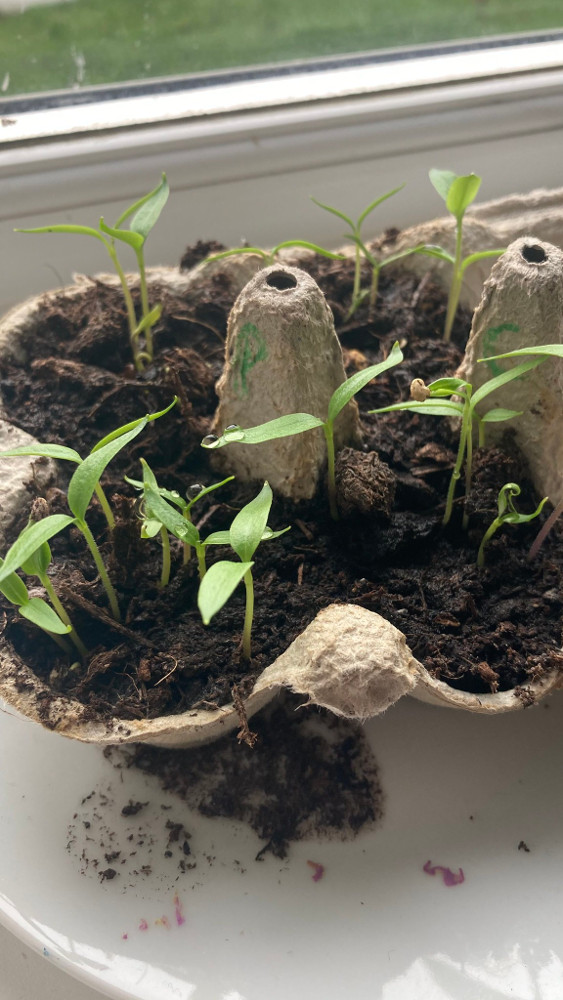
Then I pour a little bit of water on them every day or two and watch them grow. This is the delightful stage – I sit the eggbox on top of a plate on a windowsill and watch as little green sprouts begin to appear, grow taller, grow leaves. It took two or three weeks to get the little sprouts and they’re now about seven weeks old. To be honest, they could have been repotted a few weeks ago but I finally did it over the weekend.
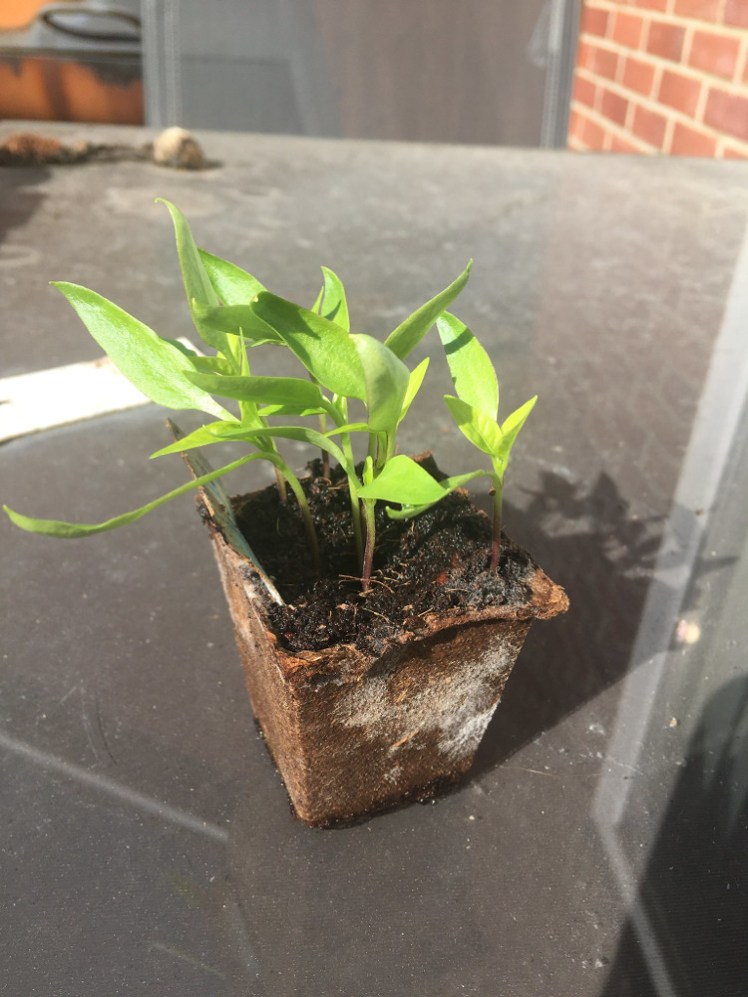
Last year they moved straight from the tiny nursery pot to their own teenage pots. This year, because we had them left over from something else, they got moved into their own individual tiny pots. I have two sets of plastic trays, twenty or twenty-four cells in each and so now each baby pepper or chilli has about the same space to itself that it was sharing with seven or eight little brothers or sisters.
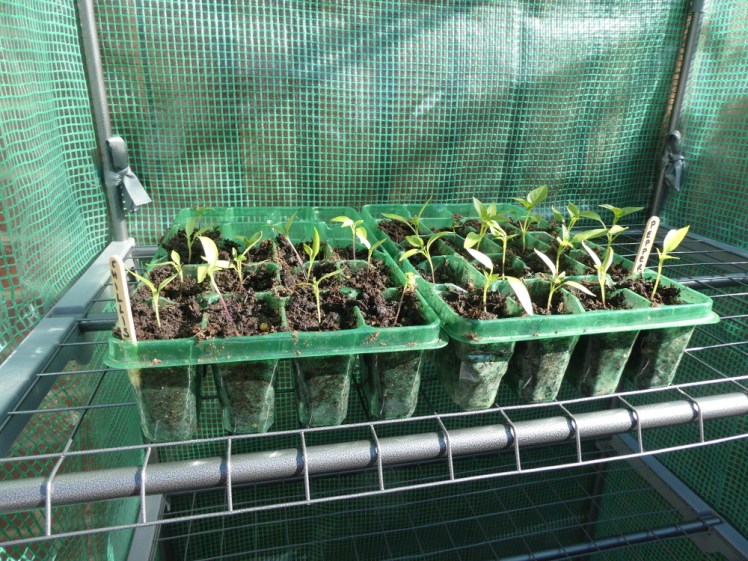
To do that, you fill the new pots with compost and stick a finger in the middle to make a hole. Then scoop the soil out of the nursery pots and gently tease the soil apart until each tiny baby pepper or chilli has been separated from the others. Don’t tear the roots apart – just pull gently, roll the soil and roots in your fingers until they untangle. Then pop the roots down into the hole you made with your finger, fill in with the soil and try to get the baby plants to stand upright. Once they settle into their new home they’ll start to stand up by themselves but it’s nice to train them from the beginning.
They’ll need to move up into bigger pots in a month or two. That’s an easier process than this initial baby repotting. They’re already separated so there’s no need to free the roots. When you fill the bigger pots with soil, make a big hole, big enough to put the entire block of soil in their junior pots. Just scoop it all out at once. The roots should hold it all together, just pop it all in the hole, fill in any gaps and cover it with compost and there you go, they’re in their big pots.

At this stage last year, they were big enough to go outside so I made them improvised greenhouses. Six of them were in square pots and had a plastic chicken box taped over them and the seventh had the top of a plastic drink bottle taped over its round pot. That kept them nice and warm. The summer was hot but I was concerned about plants that flourish best in warmer, more southerly climes, living outside on my patio in rainy England.
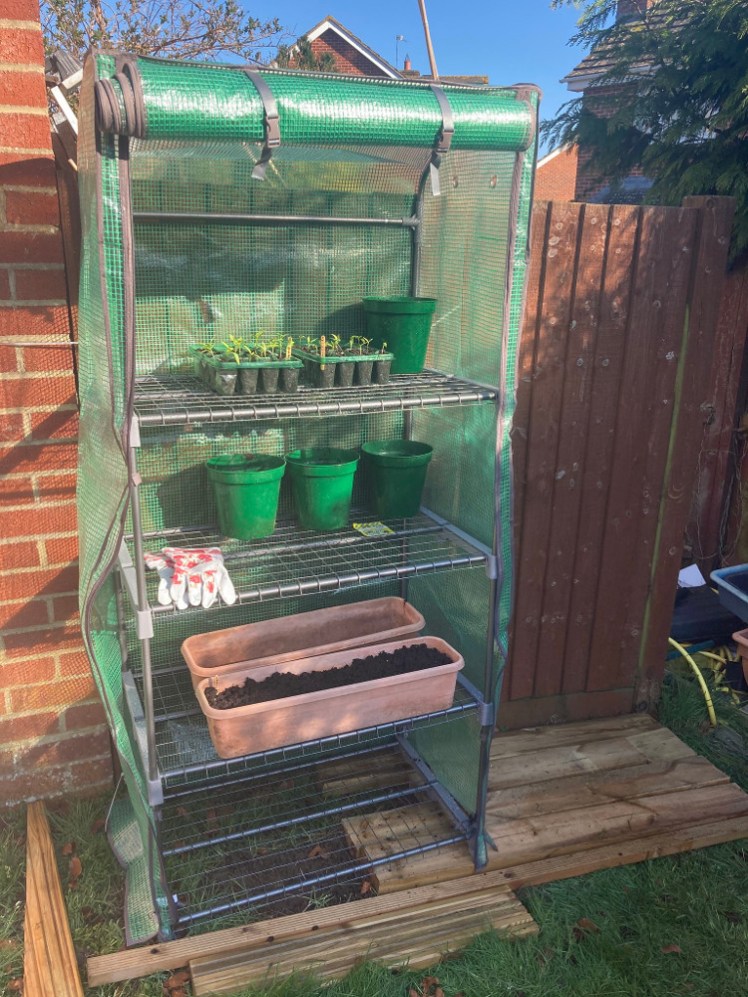
This year I’ve invested in a greenhouse so they won’t need stuff from the recycling bin taped over them. It would be nice, when I have my own house, to have a real glass walk-in greenhouse but for the foreseeable future, I just have four shelves with a plastic cover and a zip front. Should be plenty for my little peppers and whatever else goes in there. Catherine, aka Velvet Barnacle, suggest cucumelons – mostly, I suspect, because she knew I’d never have heard of them and she was right but I’ve ordered a packet of seeds and we’ll see how they go. I’m very willing to be experimental with my little garden.
We had some leftover wood from my sister’s decking so now I have a miniature deck next to my greenhouse for the pots, on the top shelf is a pot of ginger that Dad liked the look of in the garden centre . The three pots on the second shelf are empty and awaiting herbs in a month or three. The trough at the bottom contains radishes and in a month or so I’ll plant more in the second trough. It’s all fixed to the fence and I’ll grow my beans up the side of the fence next to it.
To continue the how-to-peppers, last year, when they outgrew their grown-up pots, they went into grow bags. It’s the same process again for repotting: make a really big hole in the grow bag, scoop all the soil out at once and put the whole bundle into the hole. As far as I can see, growing bags are just bags of compost that open along the side instead of the top. I might not bother with them this year, I might just repot them into bigger individual pots this year. Anyway, once they were in the grow bags, they’re done. Obviously you need to keep watering them but now they’re ready and all you have to do is wait for them to start sprouting peppers.

Part of the reason I’ve invested in a greenhouse this year is that I think my peppers were too chilly last year. I planted the seeds in late March, they went in their grown-up pots in late April and they probably went in their grown bags in late May. However, they didn’t start growing peppers until well into September and didn’t produce anything recognisable as edible peppers until November and frankly, never produced anything edible. That’s why I’ve started them so early this year and why I plan to keep them cosy and warm this year.
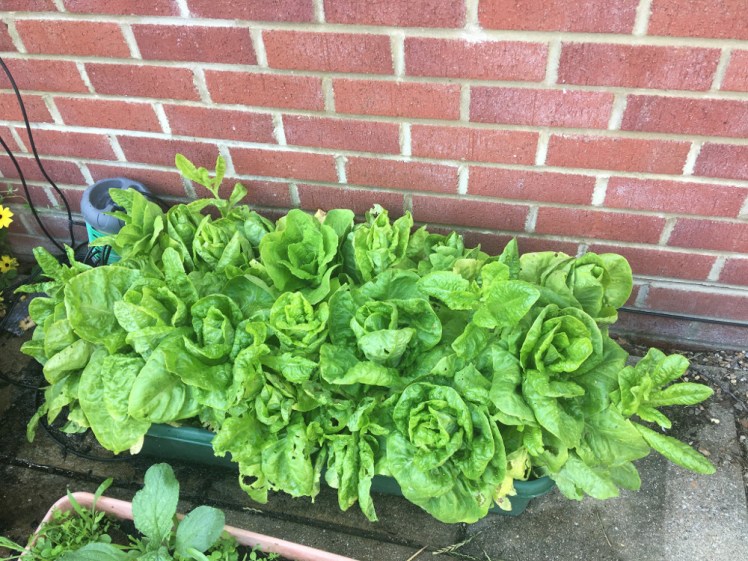
But for all that, I really enjoyed cultivating my little baby peppers. My lettuces worked much the same way, except that instead of moving them to grown-up pots, I moved them into troughs and they stayed there, and the same for my beetroot. I did the same thing with my onions, except that I didn’t plant them until July or August and so their nursery pots stayed outside, instead of growing up on the windowsill. They too went into a trough instead of into grown-up pots. I was about to say that I don’t know how root vegetables work and I’ll figure it out this summer, but beetroot and onions are root vegetables. I mean, I don’t know enough about vegetables to know whether they’re officially root vegetables but they grow under the soil so I assume my carrots and fennel will work the same way.
The beans worked differently – I planted them directly into a large pot on the patio with a wire obelisk in it and within weeks they were learning to climb up it. Actually, the beans were really easy. I filled a big pot with compost and stuck my finger in it eight times, at each compass point and halfway between them all. I dropped two beans down each hole, filled it in and then watered it regularly. The sprouting beans soon found the obelisk and learnt to climb. Once they’d reached the top, they began to flower and when the flowers died, green beans appeared in their place. I’d go out and harvest them by just pulling the biggish ones off – don’t leave them until they’re huge because they get tough but wait until they’re four to six inches long – and some days we just had too many beans to know what to do with. I highly recommend green beans for total beginners.

And that’s how to grow vegetables for beginners. Keep them in pots big enough, water them, make sure they get plenty of sunshine and that’s about all you need to know.
