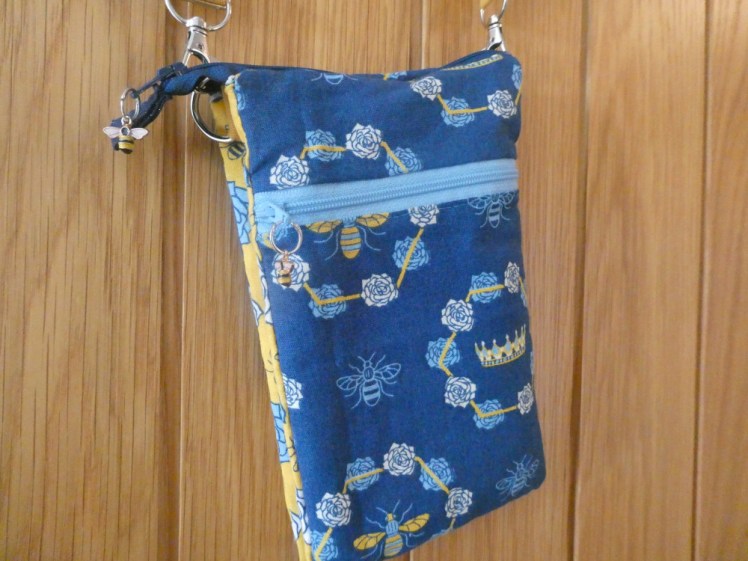
This is a two-in-one: it’s a Useful Travel Items but it’s also a Things I Made For Travel. It’s the mini passport bag, aka the bee bag, aka “I made a bag!”.
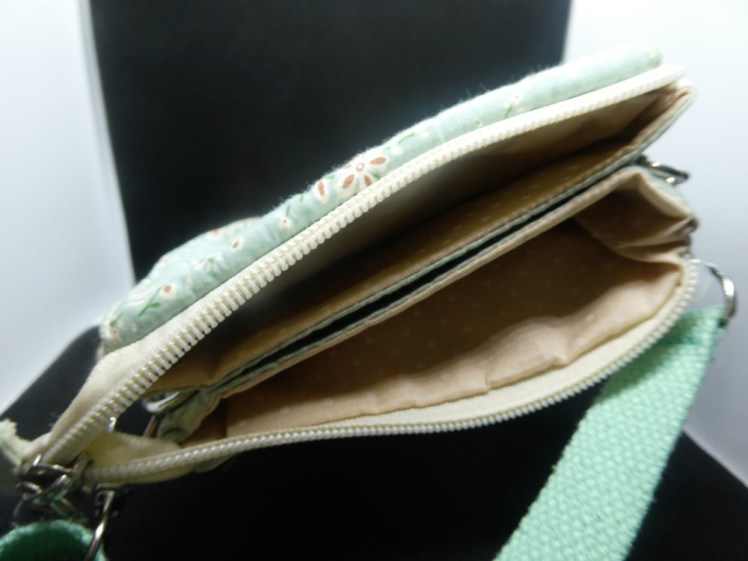
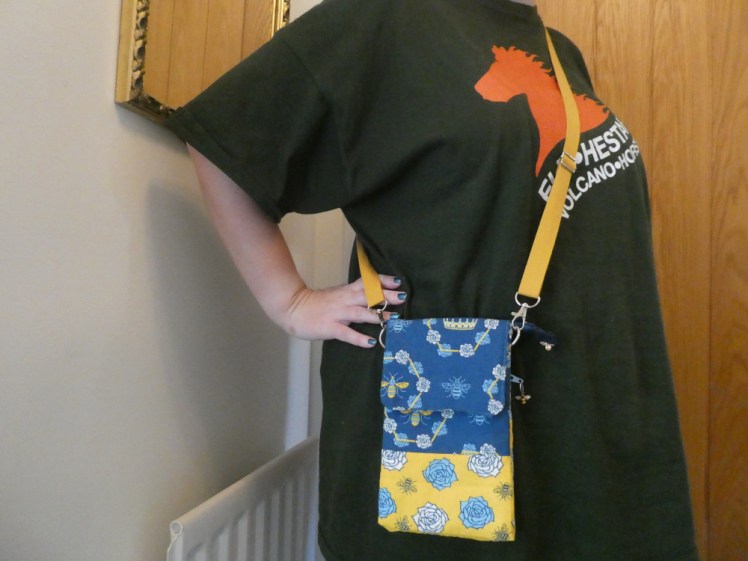
My mum had a bag. Little sage-green thing with flowers on, very small. In theory it’s two open-topped pouches sewn back to back but with a third pouch formed in the gap between the two. Then there’s a pocket under a flap on the front and a zipped pocket on the back, just the right size for a passport. For the last few months, I’ve taken it out with me sometimes. I take my phone, wallet, keys and sunglasses and I don’t need anything bigger. When I go to Germany, I want to take it, or something similar with me – I can put the stuff I want for the plane in it and hide it under my jacket so Lufthansa think I only have one bag with me and that’ll be really useful*.
* Obviously I’m not going to hide it from security – they don’t care how many bags I have with me.
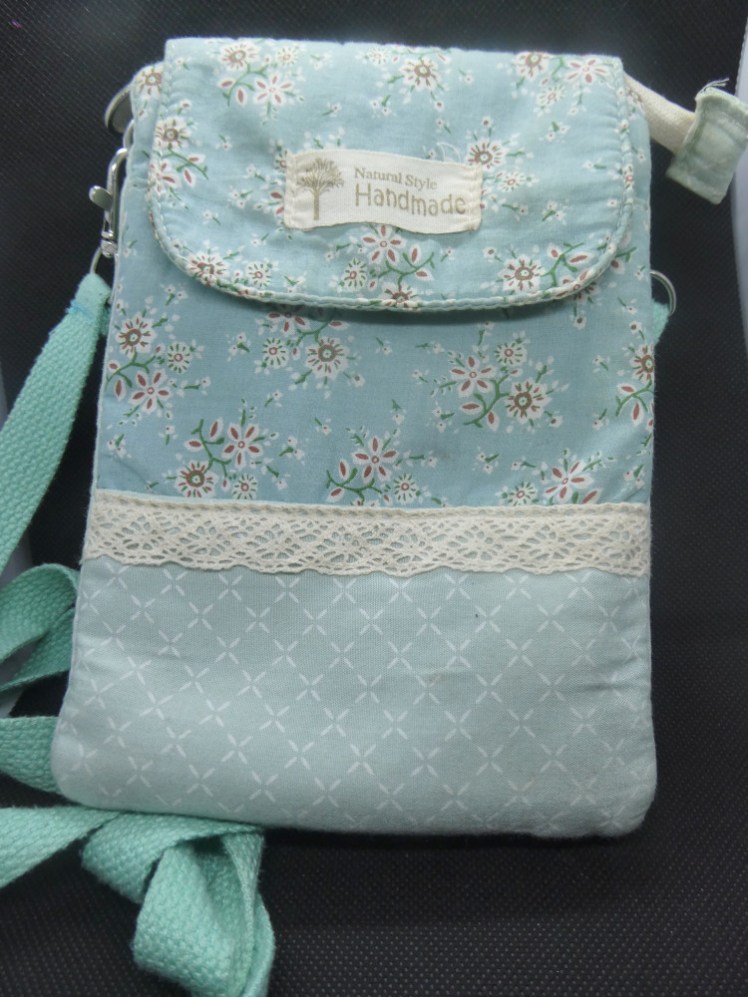
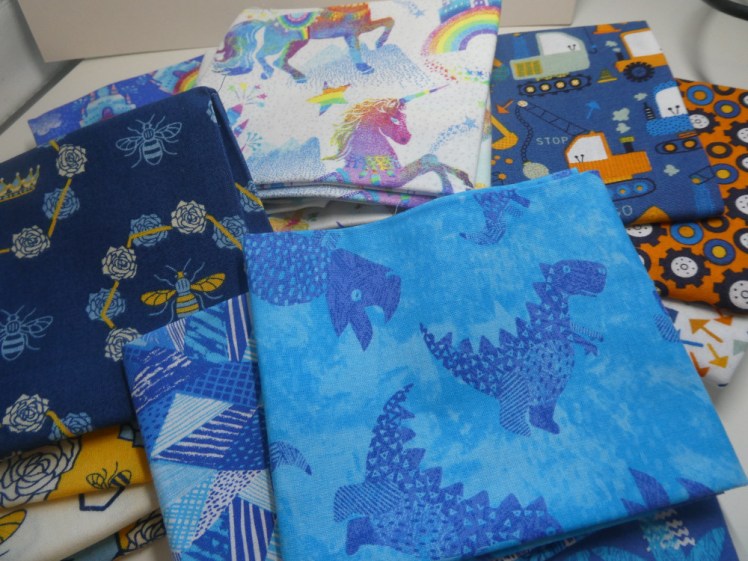
So I like this bag – but it’s my mum’s. It’s handmade and she bought it on holiday, so I can’t just go online and order myself one. Besides, the more I looked at it, the more of a sewing challenge I thought it would be. I gathered together some piles of fat quarters – it uses three different but coordinating fabrics and a pile of fat quarters would be just the job. For a month they sat there, at least. Do I do the blue and white dinosaurs? The pink and rainbow unicorns? The blue and orange diggers? But eventually I settled for the blue and yellow bees, not least because I can wear it to Brownies where I go by the leader name Bumblebee.
I’m making this bag without a pattern. In fact, following a pattern might have been worse. I had the original bag sitting next to me and I poked and prodded it and muttered “how on Earth does this work?”. Two bags, sewn together, both lined, both with outer pockets, also lined and all the seams are absolutely perfect. I’ve never made anything like this in my life! Two zips, a magnetic closure, d-rings, top-stitching – oh, this is way beyond me.
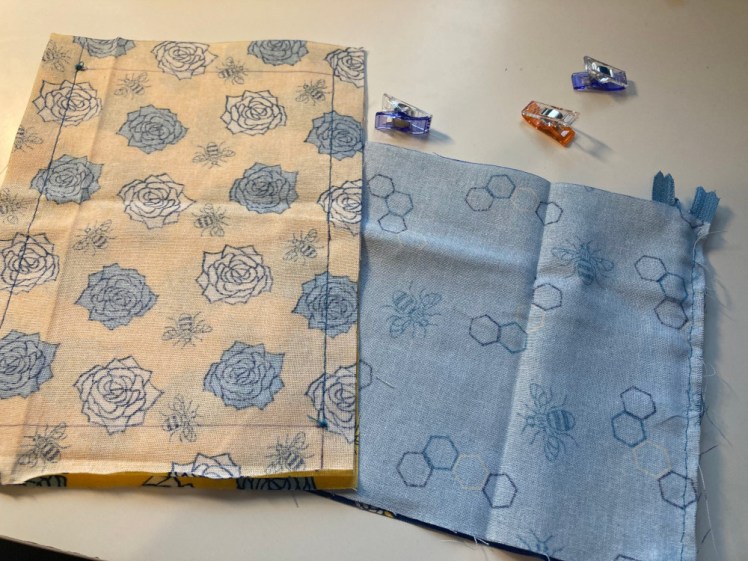
I stuck on season two of Picard and I got to work. The first thing seemed to be to make the two inner-facing sides of the two main pouches, the ones that formed the third pouch. Good sides together and then sew down both sides? I measured the bag. But I knew I had to add seam allowances and I also knew that I’d need more seam allowance than I normally use, which is about 3mm on a good day. The bag I was recreating is about 19.5cm by 13.5cm but because it’s slightly fat and slightly rounded and the edges tuck under where they form seams, I needed to go up a bit. I made my pieces 16 x 22cm.
Ok, two inner pieces sewn together. Next, the back. That’s simple enough. That’s one outer piece cut near the top and a zip inserted. Then there’s another piece at the bottom to form a lining and another piece attached to the top of the zip to form the back of that bag. Zips are still a bit of a mystery to me. You have to sew them on upside down and backwards to get them to turn out the right way up and that means I have to clip everything into place and turn it over very carefully without dislodging the clips to invariably find out I’ve put it all in the wrong place. But I got the back done.
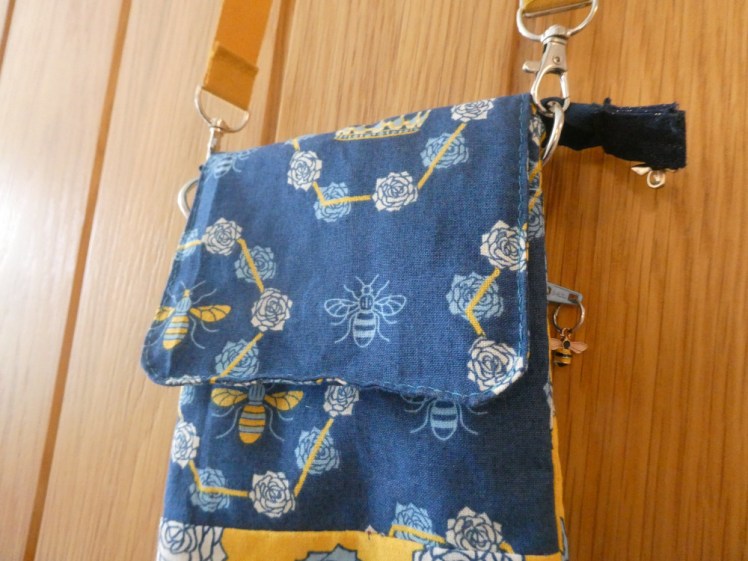
Then the front. Ok, that’s an inner front made out of a piece of outer fabric and a liner fabric hidden inside the pocket. The outer front is outer fabric with a piece of inner fabric at the bottom and then that’s lined with liner fabric. Two separate pieces that I sew together later. And a flap with a magnetic closure, so I need to put both pieces of that in the right place so that the back is hidden. Ok.
And finally, the liners for the inside main pockets. I planned to do all my linings in the same light blue bee fabric but I just didn’t have enough of it. Nowhere near enough. I dug through my fabric collection and resorted to a piece of navy fabric with gold threads. I used the black and dark reds from the same pack for what I refer to as a “party” mask during the plague but I hadn’t touched the blue. Well, that would go with the colour scheme better than anything else I had in blue or yellow.
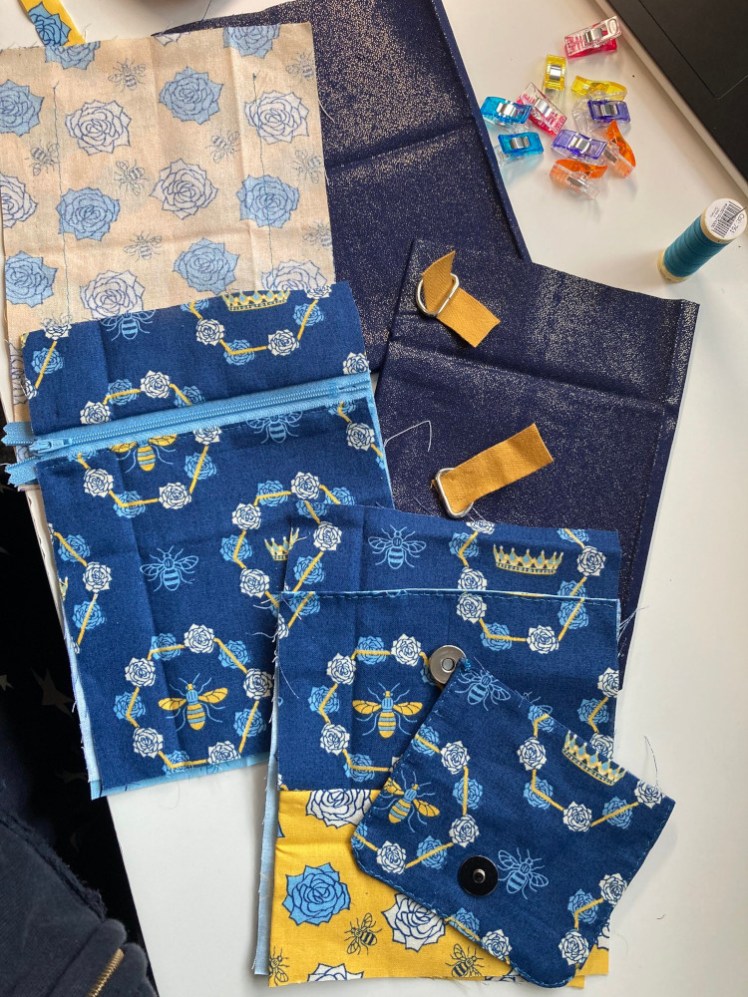
So now I had all my pieces. Two fronts and a flap, two backs sewn together, a backpiece with a zip and two liners. How to put them together? I compared to the original yet again and concluded I’d sewn those middle pieces together too far apart. The seams on the original bag are only about 10cm apart and these were much wider. So I ripped out the seam and measured it again. Have I mentioned I’m hand-sewing this whole thing? I don’t get on with sewing machines.
I didn’t take any photos of this process, by the way. It was a solid day of sewing, unpicking and swearing and if I’d tried to take photos, it would probably have been two solid days.
Right. Now to put them together properly. I started with the back because that didn’t have a flap involved. I twisted and turned and sewed and then I turned it inside out… and I’d sewn it to the wrong bit of the middle. I knew something felt wrong but I’ve never made anything like this and I was making it up as I went along. I unpicked it all, held it together how I wanted it to end up and marked the edges that go together with a pen. Then I turned it all back inside out and tried to clip the right edges together. The bottom of the two that are sewn together. Fold back the sides of the top one so they’re out of the way and sew the back wrong side up onto the bottom of the middle. Then I had to figure out the bottoms. The two lining pieces of the back had to go together and then I could do the bottoms of the actual back and the middle.
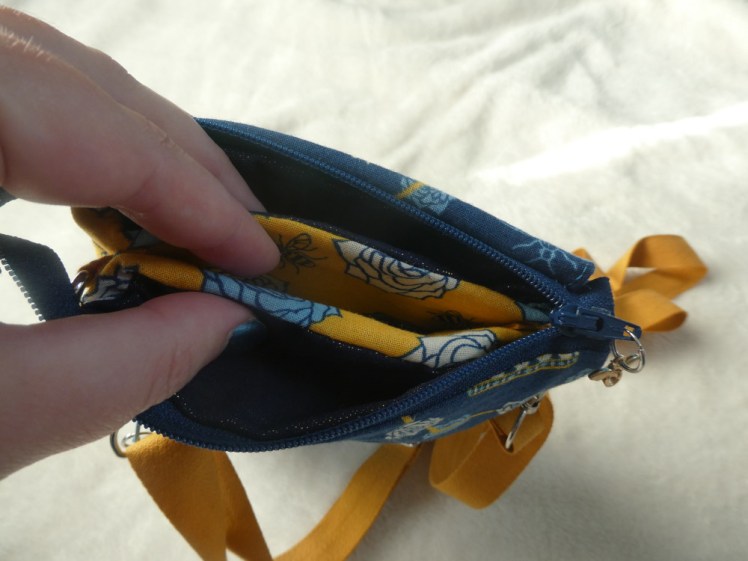
Ok. Fine. Well, at least I knew where the front had to go now. I sewed those together. I sorted out the bottom. It was looking like a bag! It was a bag! Well, it was two bags forming five pockets!
Now I had the hardest bit. I had to pull together all the top edges in the right place, add in the liners and seal the whole lot off with another zip. More experimenting. Basting the zip in place. Turning it over. Discovering it was wrong. Starting again. Cutting the liners because I’d done them in 16×22 and now the bag was made and the seams had vanished inside, it was far too big. Sew the outer side of the back bag. Discover that the liner now doesn’t fit along the inner side of the middle pocket! I had to add in two scraps and sew two more seams just to turn it more or less back to the size it had been an hour ago!
Then the front. The same thing again – without trimming the liners! – but this time there’s a flap to be included. What order do you put the front, the zip, the flap and the lining to get everything where it’s meant to be and all the edges hidden? Baste the zip, discover that when you turn it the right way in, the zip is now a spiral, unpick it, sew down the edge that’s meant to be loose, finish Picard and turn to Andromeda, clip everything into place and sew!
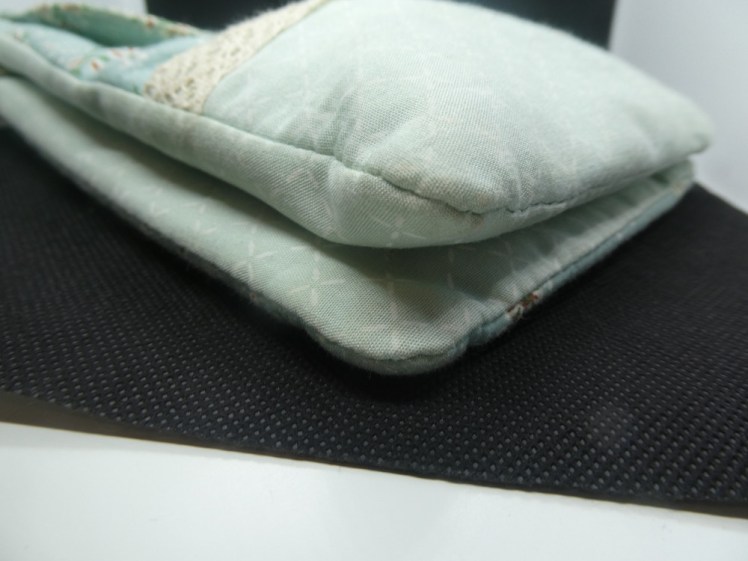
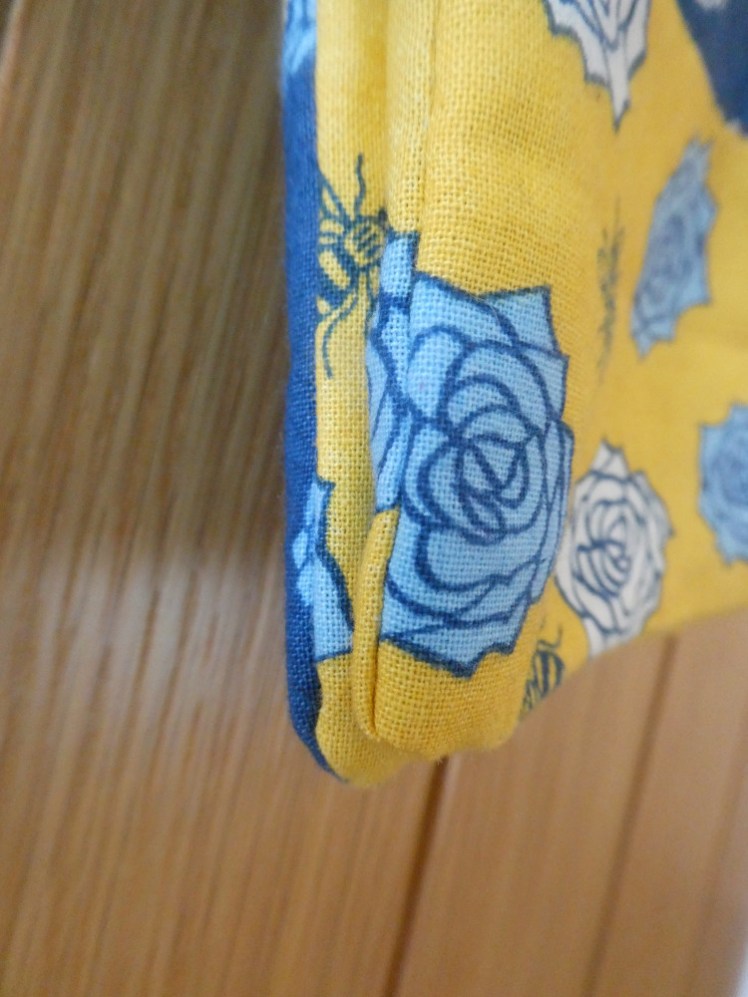
Considering I was making it up as I went along, following the most complex bag that’s ever existed, I’m incredibly pleased with how it turned out. Of course, I missed a couple of top stitches – at time of writing, I need to snip open my back liner so I can top stitch the back zip and then sew it up better than it is at the moment but other than that… this is the best thing I’ve ever made. It’s immaculate! There are no raw or messy edges, everything is lined and tidily, the zips aren’t sticking out anywhere and it looks absolutely perfect! Well, it’s not perfect but it’s pretty perfect for someone who’s forcibly hand-sewing and making it up as she goes along.
By now, this bag has been going to Brownies and shopping trips with me for a month and in a week or so, it’ll be loaded with my passport, boarding pass, headphones, sunglasses and some sweets to accompany me onto a plane. Then it’ll probably pop out with me in the evenings.
Someone at work asked if I’d make some more of these to order. No. I reckon there’s at least fifteen solid hours of sewing in there: ten episodes of Picard, four episodes of Andromeda and one 39-minute YouTube video about TikTok books. I feel like I unpicked almost as much as I sewed, there’s easily £20 of materials in there, what with four sheets of fat quarter fabric, two zips, two D-rings, a magnetic clasp, a strap, a buckle and two swivel clasps, all in awkward 20mm sizes. Oh, and a scrap of felt to pad out the flap and reinforce the magnetic clasp that was threatening to rip that. So no, I won’t be making more because that’s £160+ of sewing and frustration and an entire weekend gone and I don’t have another entire weekend left this year.
But I’m pleased with it. I’m very pleased with it!
