Today I’m taking a break from travel and I’m going to show you how to make a mask.
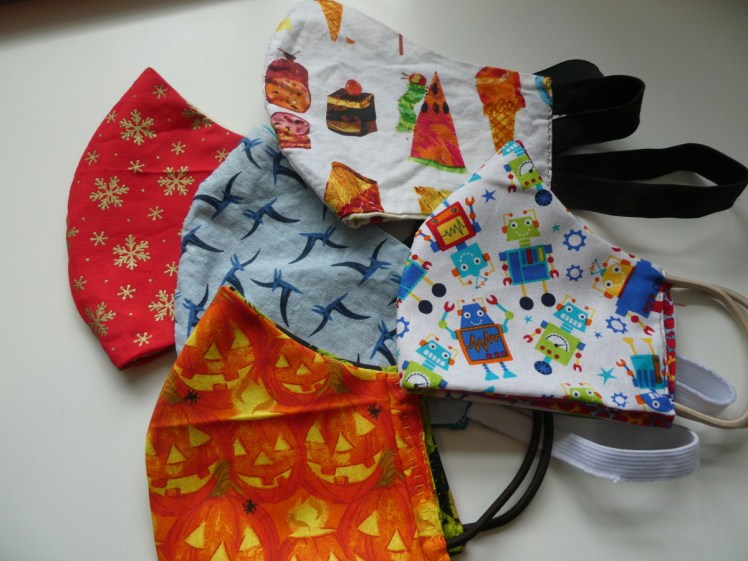
I made a few earlier in the year. There were some experiments that fitted nobody and then I got a shape that fitted me with elastic around my head so I made myself a couple which prompted my mum to say “Well, it would be nice if the rest of us had some too”, so I made a few more. I use fun fabrics – my first ones had dinosaurs on and the Very Hungry Caterpillars, my dad has buses and bees and my mum has mint-green Christmas shoppers and Minnie Mouse on rainbows. Including the one I’m going to walk you through in this post, I now have six masks. I have a Christmas one and a Halloween one and I also have just plain cool masks for everyday wear with dinosaurs and robots and Hungry Caterpillars on. And one that I backed with plain fabric for more formal occasions. Today’s mask is going to be nautical themed, with sea creatures on one side and a lining-style red and white rope pattern on the other.

And then last week I made three masks for myself in three days and I’ve finally perfected my template for fitting my own face with ear loops and every time I make one, I put it on Twitter because I’m so pleased with the results and I don’t really get to show people in real life. So it’s about time I went over the details.
First up, these are the “duck bill” style masks, which are shaped to fit your nose. They have no pleats and and a curved top (I haven’t worn a straight rectangular one but surely they fit really weirdly?) and they’re double-layered, although you can easily put a third layer in before sewing up the sides. They’re reversible so you can choose your two favourite fabrics and turn it round as you fancy or you can opt to not reverse it and have an outside and a lining.
Second, you’ll need the template. I started with the ones from here, probably Man, but I’ve made so many modifications to my various masks and their templates since then that those no longer have any relation to what I’ve finished up with.
Here is a PDF with my various mask templates for you to download. They’re not pretty because they’re literally scans of pieces of cardboard box but the fact that they’re nice solid cardboard makes them really easy to draw around and I don’t need to worry about them getting bashed and torn and dented between uses. Print at 100% and maybe draw round them onto cardboard of your own. For my own purposes, I scribbled names on them. If I’d known I was going to end up scanning them for my blog, I might have given them better names.
- I personally prefer ME v2 (elastic on ears) (p1); this is the one I refer to as The One. You may find it a bit too full-coverage but I like how it fits round my entire lower face. I feel like I can talk in this one without it slipping off.
- Elastic round ears, too small for me, too big for Mum (p1) is almost the same as V2 but it’s a centimetre shorter so it doesn’t tuck comfortably under my chin.
- Lady (p2) is far too small for me and a tiny bit small for my mum but she finds it a better fit than the other two.
- Elastic round head ME (p2) is an ok fit if you’re going to use it with elastic around your head but it’s far too big and also completely the wrong shape if you put ear loops on it.
- Man V2 (p3) is the one that my dad described as “excellent!”
So take your pick of templates.
Cutting out
Pick your template, pick your fabric and draw round the template. You’ll need two pieces for the front and two for the back and make sure that you turn it over and make one front and one back mirrors of the other. I personally like to have one colour/pattern on one side and another on the other but you could make both sides the same or you could mix and match and make all four pieces different. Beware of which way up the fabric goes. The templates are scanned so that the top is at the top of the paper and I’ve written top and bottom on the ones my mum borrows because she really struggles with this bit. You can absolutely draw round them on the good side of the fabric – it’s sometimes helpful to be able to see exactly where your pattern is going.
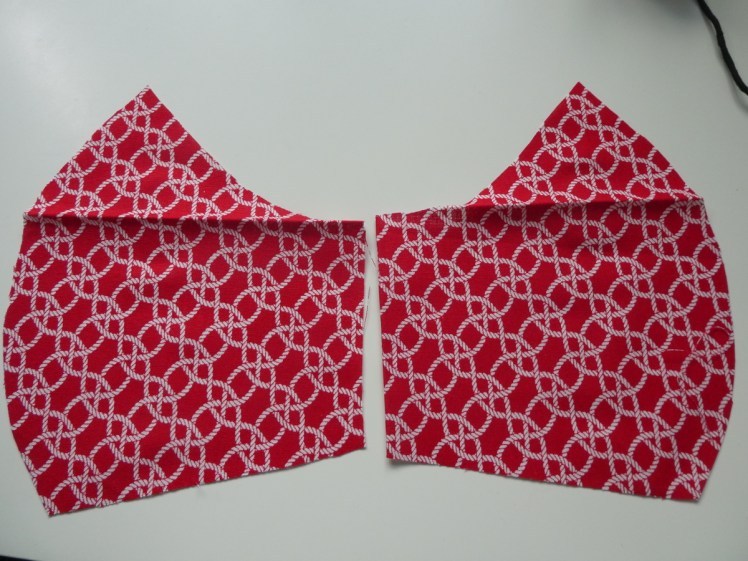
Cut them out. Now put them together, the two fronts and the two backs, with the outsides together – by which I mean the front of the fabric, the bit you’ll want showing at the end – so you have two pairs of little fabric shapes.
Front seams
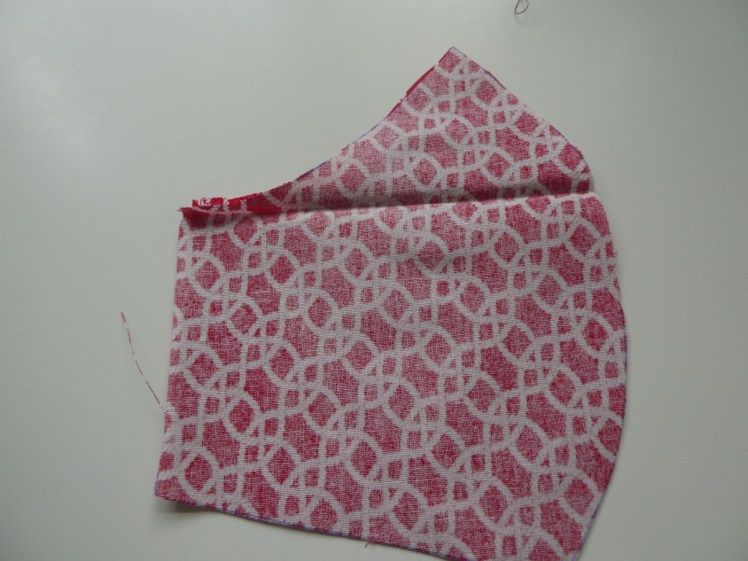
The first thing you’ll need to sew is the front seam. Take one of your pairs, with the good sides of the fabric together, and sew up that long curved seam. I hand-sew and because I have lots of control, I leave a very small seam allowance. Too small. That means I sew very close to the fabric edge. I think the best stitch for this is backstitch but I’m not very good at it so I sew a small neat-ish running stitch all the way up (that’s the up down up down boring simple stitch) and then I come back down, joining up my stitches to create an unbroken line. This takes me 10-15 minutes.


Do the same with your second pair.

Top and bottom seams
Turn one of your pairs right-side out and put it inside the other pair so you have good sides together again. Shuffle them until all the edges line up.
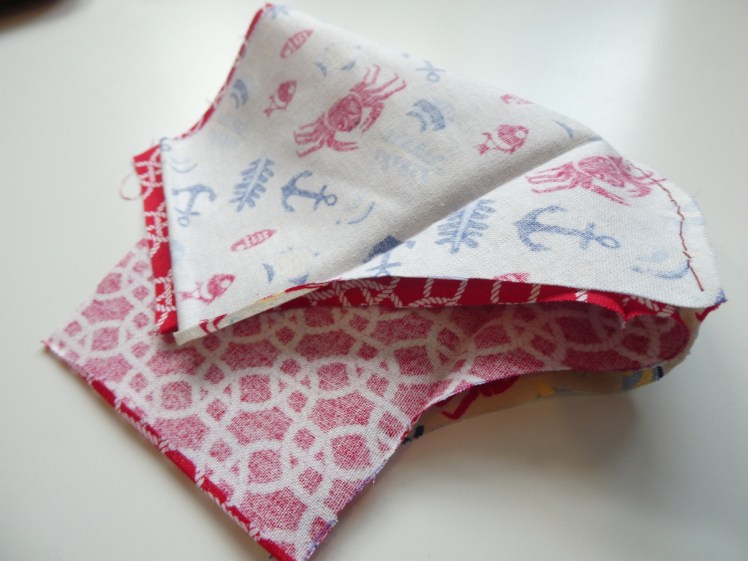
Now sew, exactly the same as before, all the way along both long edges so you end up with a misshapen tube with the ends open. These seams are getting on for twice the length of the front ones so it takes me 20-30 minutes each. If you have a sewing machine, of course you’ll zoom through them in seconds.
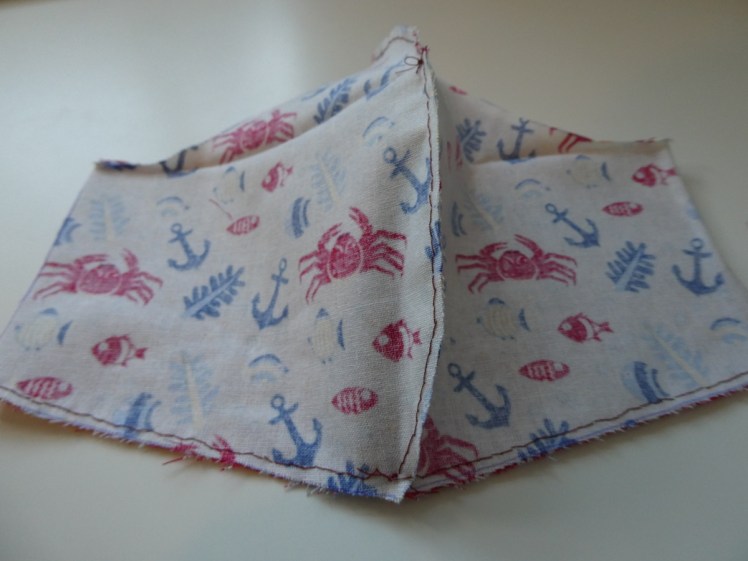

Turn them inside out. At this point, it’s all puffy and it doesn’t look much like a mask. It’s amazing the difference just closing them makes.
Side seams and elastic
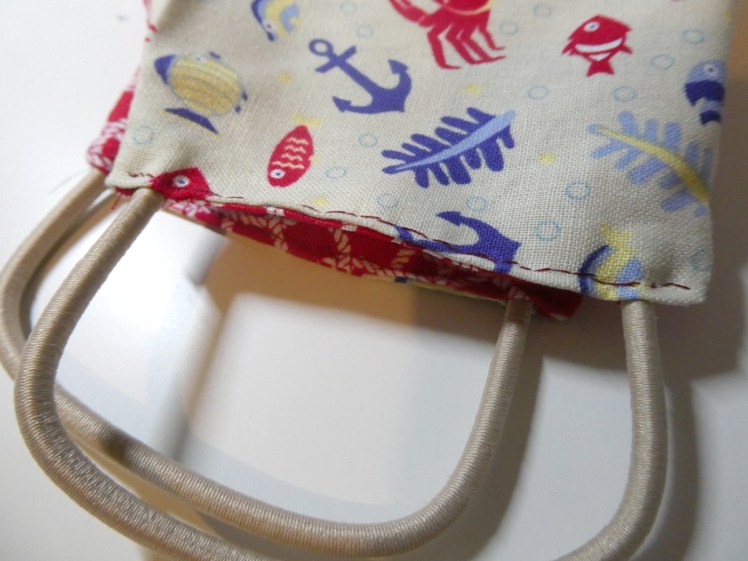
The elastic I use is the multi-pack kind of hair elastics you get from the supermarket. My dad prefers the thin ones because he has delicate ears. I hate them because there isn’t room to sew through them and they always come undone within two wears so I use the chunkier ones. Get two and cut them open, ideally around the join.

Now pick up your mask again. Turn the edges of one of the open ends in, just a little, just enough to have turned-over fabric at the end instead of raw edges. Put the end of your elastic in the end of this little pocket and sew the two sides together.


You’ll need to take extra care around the elastic, making sure the thread goes through it lots of times. When you’ve secured the elastic, sew towards the other side and when you get near the end, pop the other end of the elastic in and sew it securely into place too. Because I do my fake-backstitch, I then go back up and double-secure the elastics as I go but that depends on exactly how you sew. If you use a machine, I do recommend you do this bit by hand.
Do the same for the other open end.
Finished!
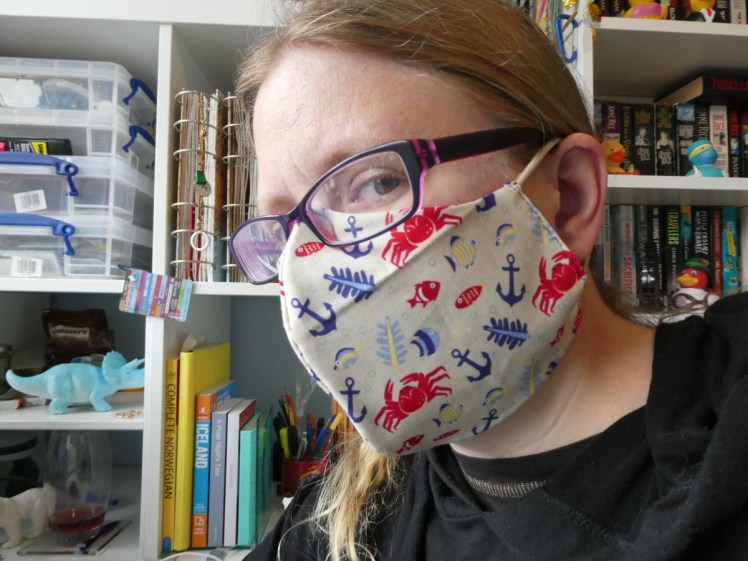
Ta-dah! You’re done! Fold the mask in half and flatten in with your fingers – isn’t it amazing how just closing those ends has transformed it into a flat sleek mask, compared to that billowy fabric tube? If it doesn’t fit exactly to your liking, you may be able to modify it – I folded the ends of my Halloween mask down and tacked them in place, which made the mask the perfect fit, and became the template for my beloved V2 template. Otherwise, make a note on your cardboard template – you might want to cut the sides shorter next time or make the front seam shorter at the bottom or adjust the lengths of the side, in which case you’ll need to draw a new line up from the bottom. Experiment away!
And then wear the thing. The nice thing about these masks is that it’s virtually impossible to get your nose out of them and because they’re shaped and fitted, they’re really comfortable.
Use happy fabrics and make all the folks in the plain black or white ones jealous!
