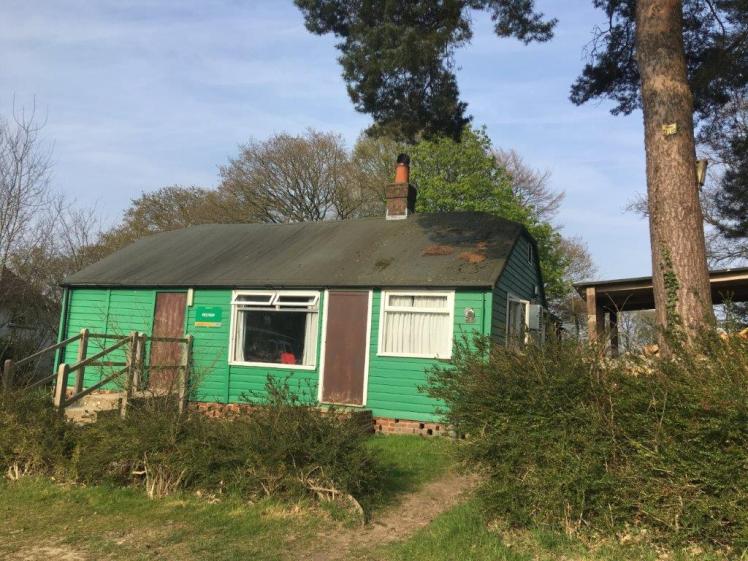
Last week I went to West Sussex for a couple of days of training. I’ve talked before about my forays into becoming a casual (read: occasional) outdoor activity instructor (archery | fencing | selection day) The full-time instructors were over at the training centre for two weeks (depending on what they were already qualified in) but I only went for two two-day sessions because I have another full-time job. I’m not going to talk about the climbing training during the first week here for a variety of reasons but I’ll do the bushcraft from week two.
So there are three outdoors centres in the group and staff from all three are here training together. We teach kids, mostly, generally of the 7-18 age group. Half the group is from my centre, the other half is from the centre up north. The folk from the centre we’re actually at are all out doing paddle sports today. I know most of my group from climbing last week – we’re all staying in the same cabin. Oh – and only our centre has invited their casuals ie me (and one other person) to the training.
It was on the schedule as two days and I’d booked two days off work for it. 4.30am start and three and a half hour drive due east as the sun rises to be there in time to start (and have second breakfast in the cabin). So it was a bit disconcerting when the instructor began by telling us his plans for “the day” and that he can teach us everything we need to know in about two hours. Suddenly it looks like I’m having two three-and-a-half hour drives in one day and having to make a decision about going back to work on Thursday (I didn’t. The day’s pay had already been deducted from my April salary and it was a long day. Upsetting Accounts and being tired vs unexpected day off – right before the long Easter break!)
We weren’t learning it out of a book but there was a book lying around during the first week and I’ve since bought a copy of the book for my own reference. If you’re interested, it’s Ray Mears’ Outdoor Survival Handbook (that’s a non-Amazon affiliate link) and it covers far more than we could fit into our single day.
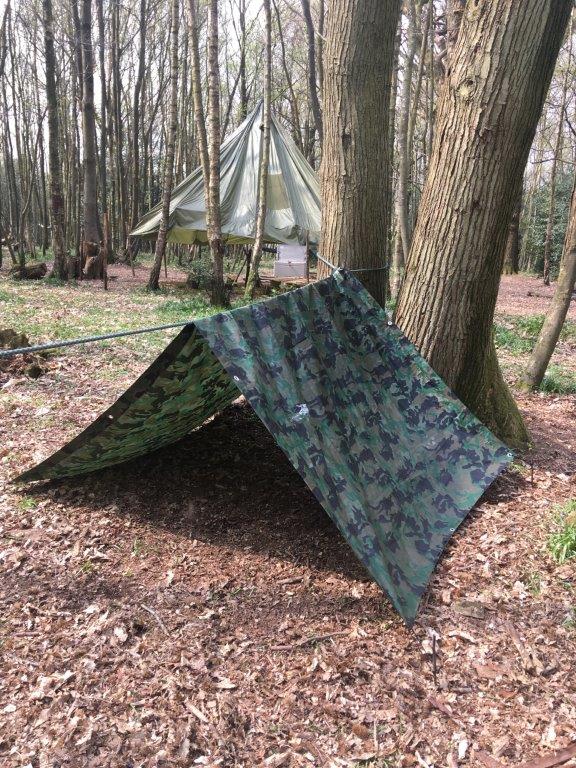
We started with shelter building. The three centres all have a bag of shelter kit – just tarp and rope. I’ve never actually done this before so I’m glad we’re in groups and that two of my group are experienced. I can figure out tying the big rope between two trees (and I know the knots) and draping the tarp over but using sticks as tent pegs is new to me. The instructor is going to test our shelters with “artificial rain simulation” so it concerns me a bit that both ends are open. We’ve already used ten of our fifteen minutes so I have no intention of moving the thing when I say “If we’d built it over there, we could have used that big far double tree to block one end” but the rest of my group likes the suggestion and so we hastily move it. We pass the rain test.
Now, for our kids, this could take half an hour to an hour and require our help. We’re encouraged to look for compliments about whatever they end up building and try not to say that any shelter is “better” than any other. That figures – I instinctively do that with my Brownies anyway.
Next is firelighting. Shame of my Girlguiding life, I can’t light a fire. Just can’t do it. This time we’re lucky. We have a good birch-and-bluebell wood and it’s been dry lately.
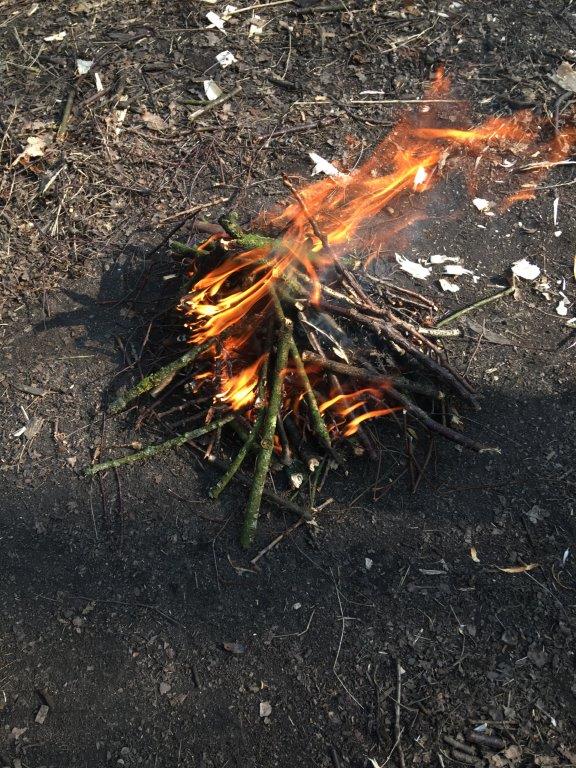
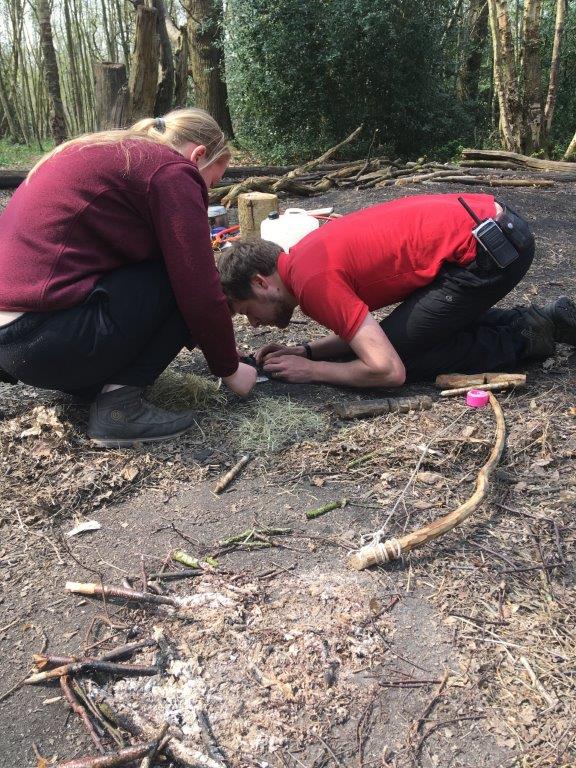
First we get out the firesteels, the ferrocerium rods. I’ve used these before on a bushcraft session at a Guide event and used them at a Thinking Day event I organised. We’re shown how to use them. The kids are all going to have a go with these because they can all make a spark with them and that’ll be exciting, even if firelighting fails. We’re shown how to help kids who are a bit small or a bit nervous and we each set fire to a tiny bit of cotton wool. The instructor produces tubs of birch bark, borrowed from outside the hospital while on an A&E run the previous evening – not from a living tree. Never from a living tree. Next, the sticks. Two handfuls each of “twiggy twigs”, folded and snapped and made into bundles. Larger sticks are separated out ready for the next stage. Only when we have our pile of twiggy twigs and small sticks are we allowed our steels, cotton wool and birch and we make a couple of small fires. I feel like I can do this with my Rangers and immediately mentally add this to the summer’s programme. It’s going to rain the night we try it, obviously.
Now we’ve got fires, we cook marshmallows. Everything’s going to take longer with kids and food is a great incentive – although if you mention it, you then have to do it. If a kid hears marshmallows and then doesn’t get one, you’re going to have upset kids. Best not to mention it until it’s time to do it.
This in itself is a good bushcraft session for our age group. It’s all we need to know but Dom wants us to have more knowledge tucked away.
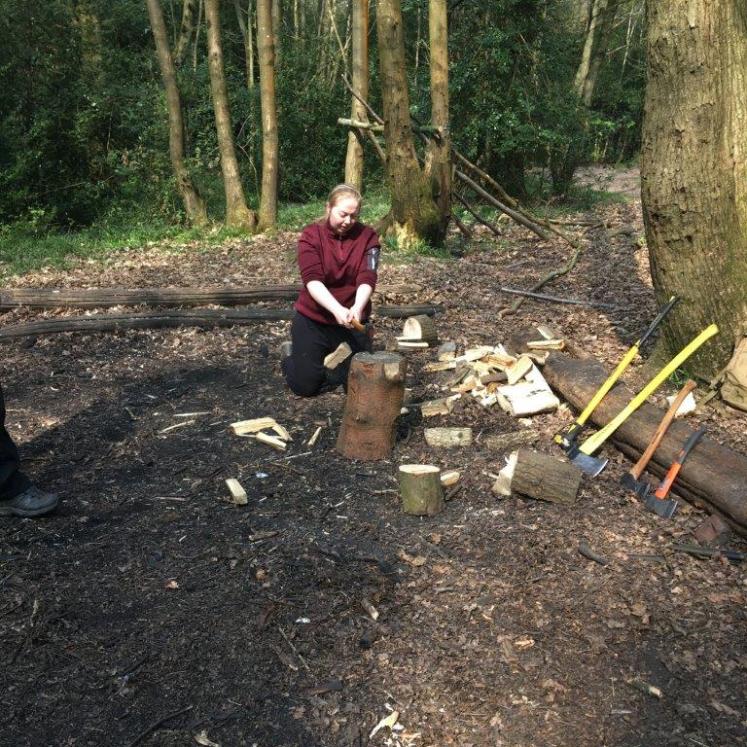
So we break out the tools. I’m ok with knives, I’ve done whittling before and own a startling number of knives and I know UK knife law, which is why they spend 99% of their lives in a special pot on my shelf. I can carve a marshmallow stick. I’m terrible with the bow saw, always have been although I like the little folding saw that’s apparently an essential bit of canoeing kit. I refuse to touch the half axe or huge splitter axe but I eventually discover that processing wood with the hatchet takes a lot more force than I’d expected. I’m not an axe kind of person, although I’ll take up my grandfather’s mattock in the event of zombie apocalypse.
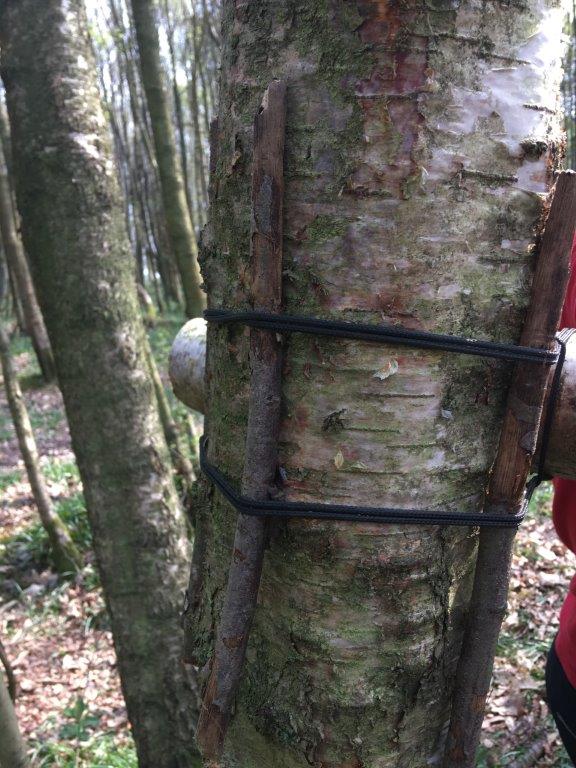
Next: natural shelters. This one is very dependent on having a good bit of timber deliberately cut and left in the forest. We lash it to two trees and then learn the fine art of forcing smaller sticks between the tree and the string to ease the pressure and stop the tree being effectively strangled. We don’t build the shelter but we discuss it – more convenient logs required, plus 1-2 feet of leaves piled up on top depending on the season, plus how to make a long fire in front of the open end.
Last thing before lunch is more firelighting. We use an actual flint and steel, which takes forever and only makes the tiniest sparks. From that, we light a piece of charcloth and transport the tiny ember to a huge handful of dry grass. Blow and waft until the tiny ember becomes a literal handful of flames and then light fire as earlier. Alternatively, use a bow drill to make fire by friction. This is really hard. I can’t get the bowstring twisted around the drill without it pinging away and I can’t see which is the burnt end. Dom makes a good amount of smoke, which will impress the kids even if you can’t make a fire from it. I can’t make it work and in my opinion, no kid is going to sit quietly for ten or twenty minutes while you laboriously make the ember and then laboriously set fire to a bundle of grass. But it’s good to have that extra knowledge because I can explain about it to my kids. I’m under no pressure to be Superman either. Plenty of Guide leaders don’t want to admit to their kids “I just can’t do this”. I’m very happy to say that. Hey, this is a cool way of making fire that I want you to know about but I can’t do it myself. Still, at least you know about it.
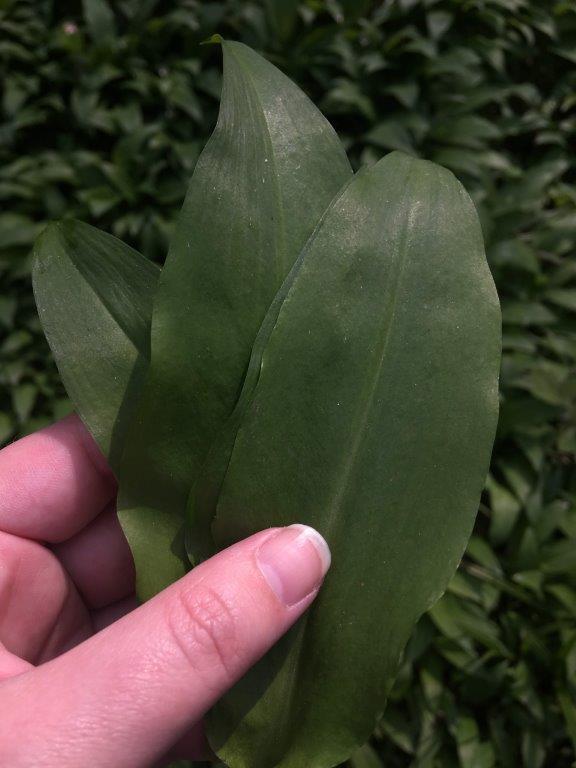
After lunch we went on a foraging walk. This is another thing I won’t be doing with my kids. For one thing, I won’t eat any of it. For another, bigger, reason, half an hour in the woods is not enough to teach me 100% what will definitely not kill my kids. We picked nettles (again:no) and sticky string for tea and wild garlic for bread. Did you know that with wild garlic you eat the leaves rather than the bulb?
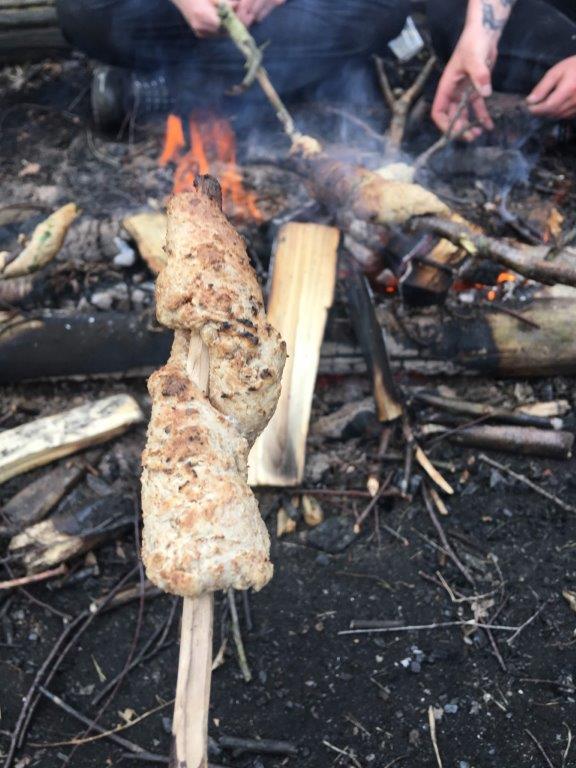
We rebuilt our fire back at base, carved sticks and cooked hotdogs, then we made garlic bread. Basically, it’s just dampers with torn-up leaves included. Mine was undercooked in the middle which is fine food safety-wise but tasted revoltingly gooey. Then I ran back to the cabin for a drink while they butchered and skewered a fish. I don’t like fish and I don’t like seeing sticks pushed through things.
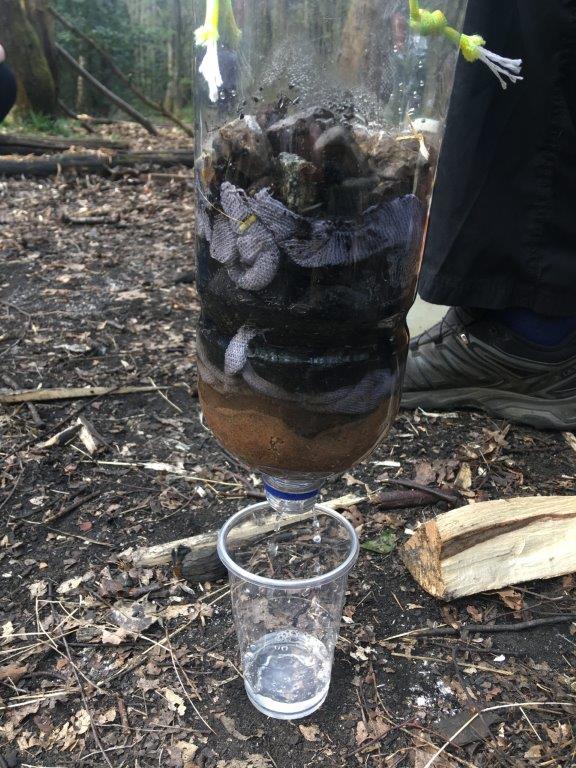
While the fish was cooking, we had a go at filtering water. Dom had some filters ready set up – a layer of stones, a layer of clean cloth, a layer of charcol, a layer of clean cloth, a layer of sand all in a 2-litre plastic bottle. One of our group “poisoned” the water and then we tipped it through the filters and it came out more or less clean. Not enough to drink, not without being boiled, but clean enough to wow the kids. Of course, even boiled group leaders are unlikely to want to let their kids drink the now-theoretically-drinkable water.
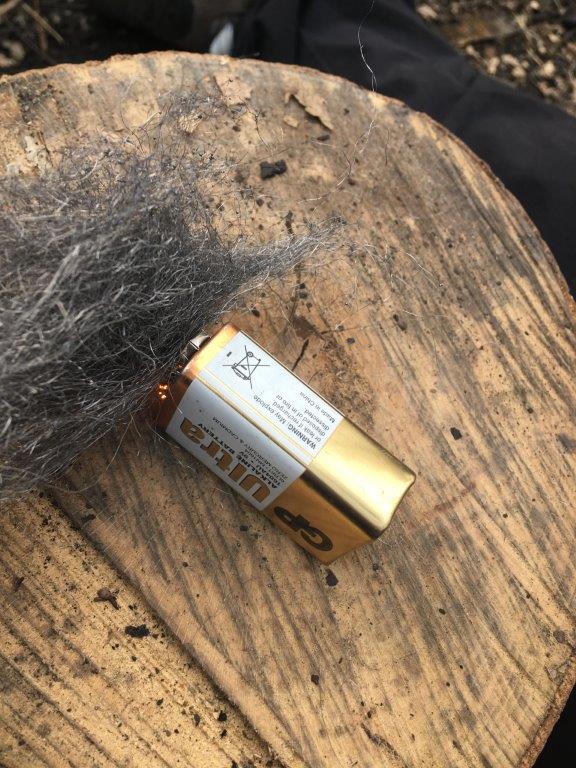
We also had a little go at another form of firelighting – using a 9 volt battery and a piece of wire wool. I’ve seen this done before, it goes up like crazy but today all we were getting was a few embers. To be fair, everyone had had a go and the battery was burning hot from being short-circuited for so long. Maybe a fresh battery would have done better. It’s hardly bushcraft but then again, a battery is a pretty easy thing to keep handy in case of emergencies.
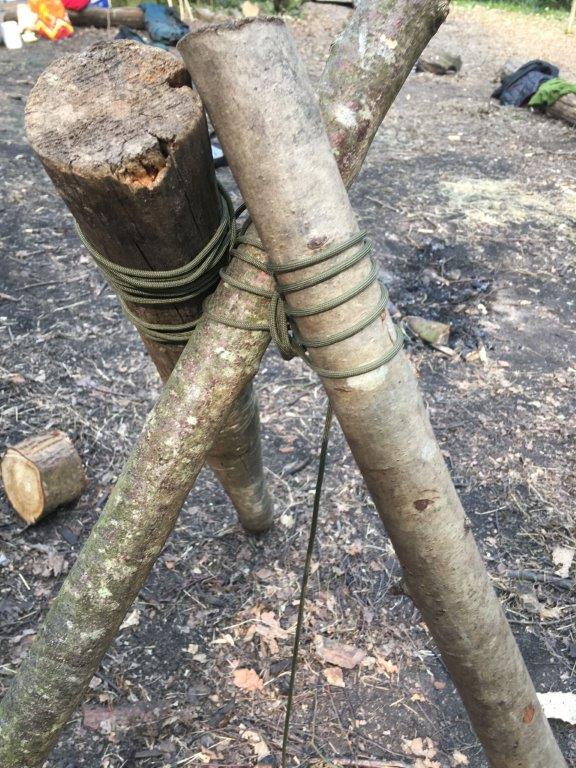
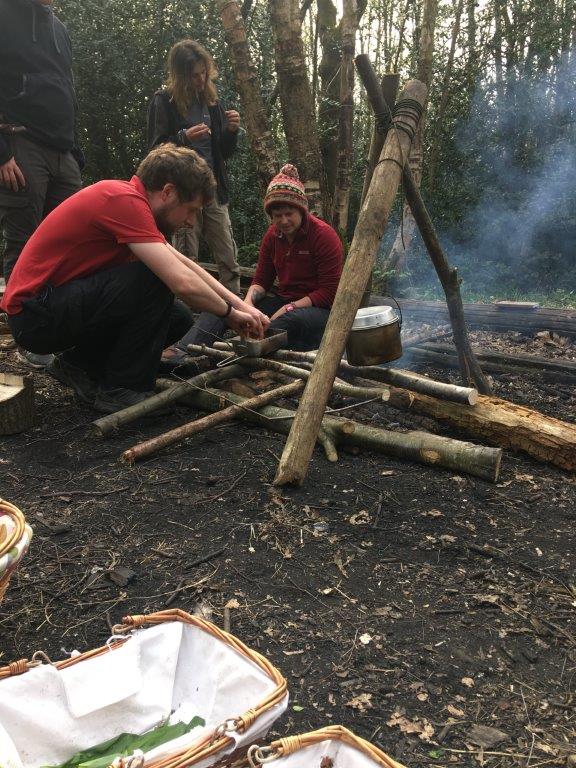
We thought the fish was done but no, so it got removed from the stick and put in a mess tin and while it was finishing up, we covered tripod lashing. We’ve always made a tripod on camp for hanging plate bags but the lashing has been a bit improvised. Now I know how to do it properly. We used our tripod to hang the teapot over the fire and while it was boiling, we had a quick look at fire pistons (fire by pressure, no spark, heat or ignition needed and guess what: it didn’t work) and then went to build a snare.
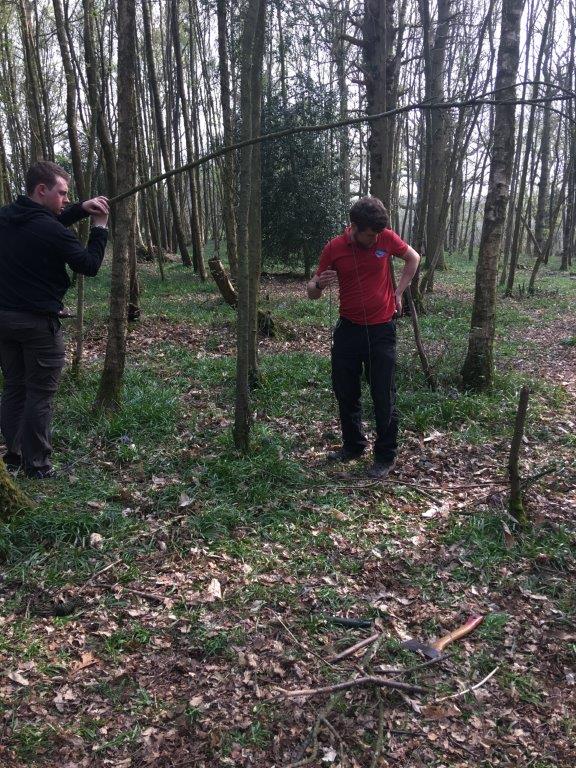
Now, using a snare in the UK is illegal but learning the fundamentals as part of a bushcraft course isn’t. Ours wasn’t great. The rope was too long and our triggers kept breaking but we saw basically how it works.
The tea was done by now. It tasted “of green” although the more imaginative members of the group tried to detect hints of cucumber in it. We got through about a quarter of a cup in all between us.
Last thing was sharpening the knives and axes. With a bow saw, just buy a new blade. Those things don’t really sharpen. With a knife you use an oilstone and a lot of oil. With an axe, a file. Both then end up with just a tiny barely-perceptible fold of metal from the other side which needs to be stropped with leather.
And that was our day, give or take the tidying up. None of us will ever need much of this for real – you’ll never be truly lost and dependent on nature for long in the UK and we’ll only really be teaching shelters and simple fires, as per the session plans belonging to each centre. But I’m so taking my Rangers to a local campsite to practice all this.
