I like to do new things, strange things, fun things. This time I did a glassblowing taster session – that is, i did a very short session designed for absolute beginners.
It was at The Glass Hub, near Bath and there were eight of us. We were dressed up in kevlar gloves and sleeves – not as exciting as it sounds; these are the same yellow gloves threaded with kevlar that I own for whittling and the sleeve is just a yellow tube with a thumb hole in it which you wear on your right arm to stop you burning yourself if you pick up your tools the wrong way round. Those of us who weren’t already wearing glasses wore safety glasses. There’s a lot of cooling glass around and sometimes it pings around the hot shop because it’s shattered while cooling. Oh, glass is fragile! We were recommended to watch the Netflix series Blown Away, which is the glassblowing version of things like the Pottery Throwdown or the Sewing Bee and I had no idea how easy it is for glass to just fall off the pole or shatter or crack because you’ve left it out of the furnace a moment too long. I’m so glad I didn’t know that at the time!
We were split into two groups of four, one with each instructor. The instructor does a lot of the work, either twiddling the punty while you concentrate on shaping the glass or shaping it while you blow and at the time that felt like cheating. Having watched two and a half seasons plus the Christmas miniseason of Blown Away, I now realise it’s entirely normal for an assistant to do a huge chunk of the work. It’s very hard to shape something while inflating it down a blowpipe four feet long and it’s often easier to stay where you are ready to grab and shape again without having to get up yourself to reheat it in the furnace. In fact, by the finales of Blown Away, each artist has three assistants. Glasswork is teamwork, apparently. So it wasn’t cheating to have our instructor physically help.
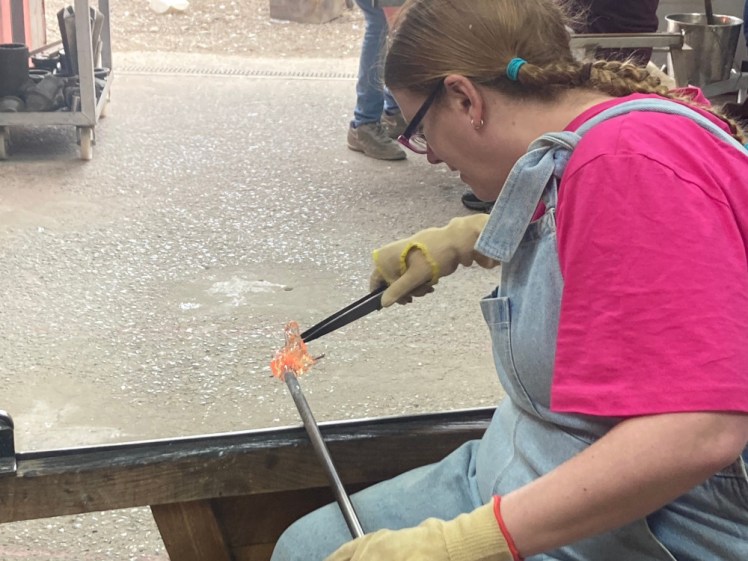
We started with a paperweight. We had one furnace whereas pros seem to have two – there’s the furnace where the glass is melted and there’s a “glory hole” – yes, really – where you reheat the glass regularly as you work it. We were using a kind of all-in-one furnace made on-site called a Minimelt which fulfilled both purposes. One per group, obviously. “Gathering”, the fine art of getting a blob of glass out of the furnace and onto a pole, is something we didn’t have time to learn if we wanted to actually make something so the instructors gathered us some glass and we started by learning to twiddle, getting the feeling of the glass. It’s molten, so it acts like really runny honey at first and it wants to drip onto the floor, so you have to constantly turn your pole to keep it on. Then we learned to sit at the bench and pull at it with tweezers, how far you can pull, how long you can keep pulling before it cools and how you can still shape it when it feels solid if you tap it.
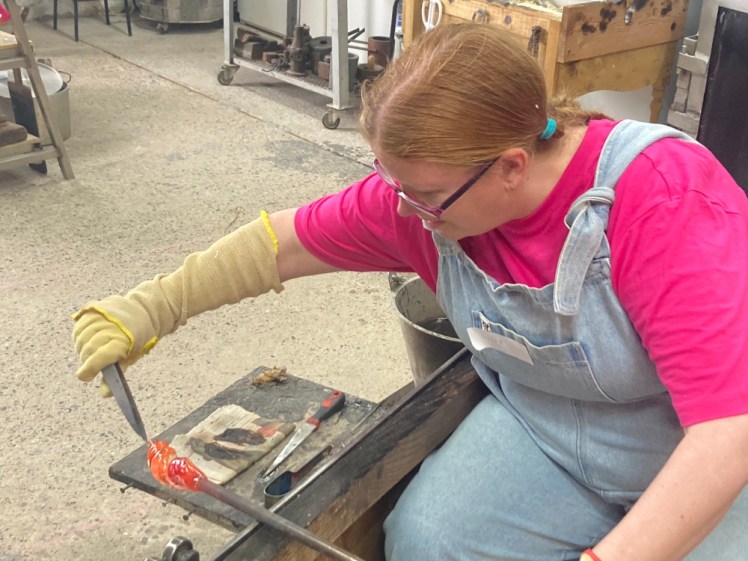
With that done, it was time to make the paperweight. You twiddle your gather to try and coax as much of it off the pole as possible, but still on – it needs to be hanging off the end otherwise you can’t take it off later. When it was off and fairly round, we pressed it into two rounds of frit, which is coloured powdered glass, heating it in the furnace before and after. I opted for bright yellow and baby pink, which didn’t look as “My Little Pony” as the rest of the group had expected – but when it’s all molten orange, you can’t tell anyway. When you’ve pressed the frit on and reheated again, you sit down again, grab the very end of your glass blob with the tweezers and roll the pole away from you, creating a spiral. We took some time over these, trying to get them kind of unicorn-horn shaped, straight and centered but with a definite spiral. At this point it’s all red, yellow and orange with heat so you have no idea what your chosen colours actually look like.
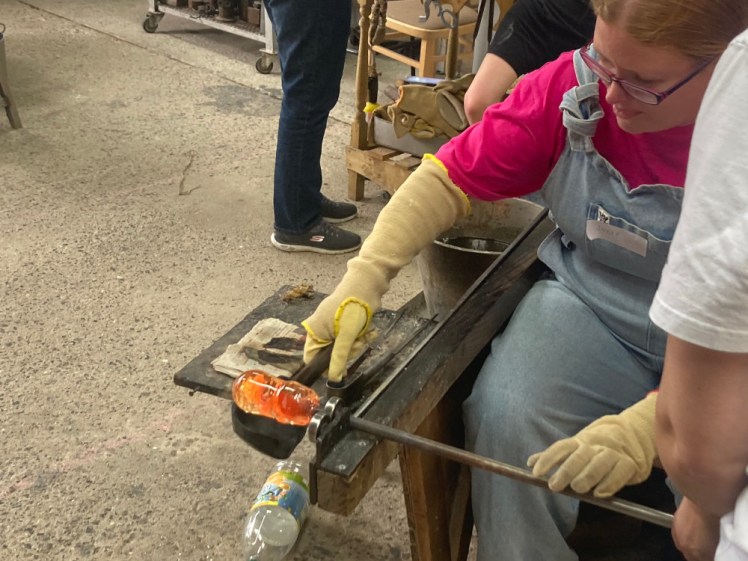
When you’re happy with the spiral, the instructor takes it back to the furnace for a second gather. This is the outside of your paperweight with the spiral now caught inside. You manipulate this as well, turning it to make it round and centred and hanging off the pole and then you use a block, which is a wooden paddle with a concave hole in it. You just hold it underneath your blob of glass, roll the glass back and forth across the bench, letting the block shape it into something quite circular. Things catch fire. I had no idea what. The blocks live in a bucket of water so they’re surely not catching fire. They’re clearly well-used so there’s no sawdust or splinters from them being newly carved. The glass itself can’t be on fire. But flames jump up as you roll it in the block – and as you work it with paddles, which I’ve seen on Blown Away but didn’t do myself.
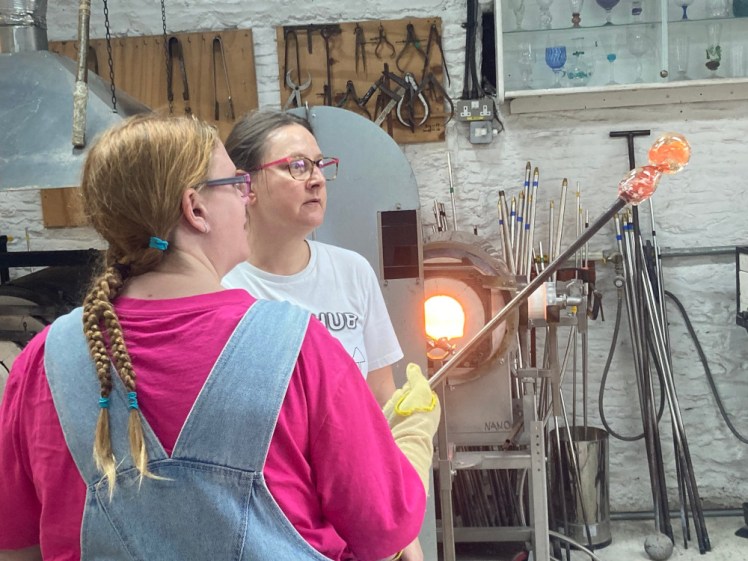
Then you get the jacks, which are like a big pair of tongs. Still rolling the glass – always roll it! – you just hold the jacks against the glass, apply the slightest pressure and it begins to thin. Thin, thin, thin, until you’ve created a stem. Then you hold the pole above your head and let the glass cool and settle into a sphere around the thin stem, a bit like a mushroom. Last step, you take it over to a tray of sawdust, hold it just above a plank and stab at the stem with a “highly specialised tool” (a butter knife) until it falls off into the sawdust. Mine didn’t! I had to hold it vertically and give the pole a tap with “the bonking stick”. The glass breaks at its weakest point, the stem, and the paperweight plops gently into the sawdust.
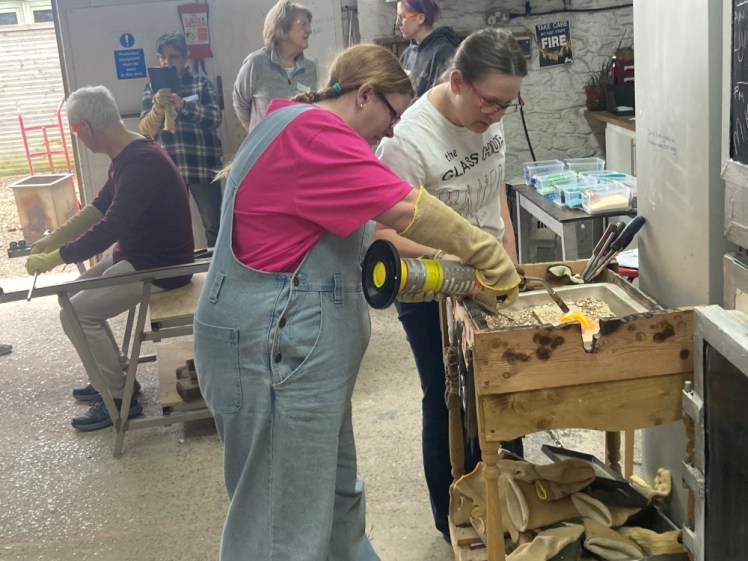
You use a blowtorch to melt and even out the broken joint and then it gets popped into the annealer, a special kiln that lets it cool very slowly so it doesn’t crack before reaching room temperature.
Next up came the bauble. We’d learned some basic hot glass skills and now came the actual blowing.
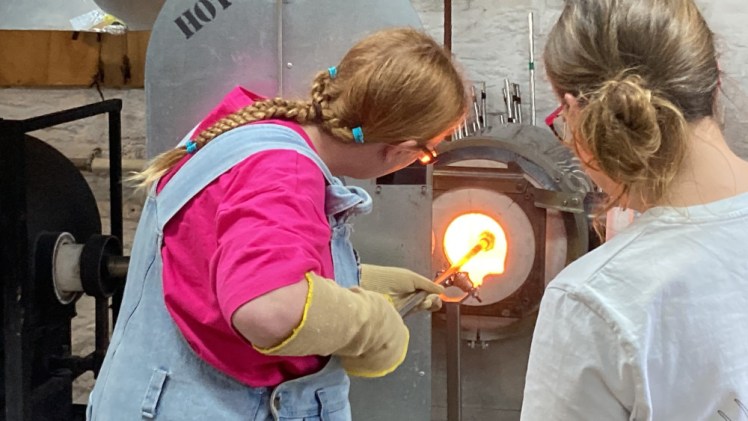
It starts the same. Round off the glass and coax it off the pole. Heat, roll in your first frit colour, heat, roll in the second. But then, instead of shaping it, you create swirls. That means holding it in the furnace until the glass tries to melt off the pole. Then twist the pole to keep the glass trying and failing to melt off the side. Repeat the process three times. Then you take it to the bench and pull it around, to make a more oval blob.
When it’s a suitable shape, start to inflate. Now, because we can’t manipulate from four feet away, we used a tube connected to the blowpipe (you have a “noodle buddy” who holds your tube and then pops it on the pipe when needed while you’re still twiddling) and because we’re new to this, our efforts went into blowing and watching while the instructor shaped. This was the bit I was worried about. It dawned on me on my way there that afternoon that blowing up balloons triggers my gag reflex. Would glassblowing?
Yep.
Once the instructor got it going, if I kept calm, I could enlarge it so I blew while she pulled at it with tweezers. Then we reheated it again ready for the last blow that would turn it into a sphere. This bit was ok but I blew hard enough that I could feel myself turning red and something in my brain went. Nothing major, just painkillers-before-bed went because I had a headache all evening. The first person in our group, a trombonist, really went for it at this stage. It went from a flattish oval to almost-bursting point in about one second. I don’t have that kind of lung power but I have just enough that I could see it turning into a sphere. Again, you have no idea how it’s going to turn out. I used dark blue and pale blue but all I saw was orange until it reached a certain level of inflation. Then over with to the sawdust, tap it off the blowpipe with the bonking stick, melt the joint with the blowtorch and then the instructor puts on the hanger because rapidly forming an open loop of melted glass is difficult enough for a beginner without the risk of the bauble cooling too quickly and cracking. Into the annealer it went!
And then we were done. I’d made a paperweight and a bauble, I’d learned to handle molten glass – or at least the basics of it – and I’d blown some glass, with a bit of help. All I had to do was wait for it to cool and arrive in the post. The glass session was Sunday afternoon and my glass arrived via DPD, my-least favourite delivery service, at 2.15pm on Thursday. Oh, it was exciting to open up that parcel, ensure that they’d both survived the annealer and the courier and hold them in my own hands.
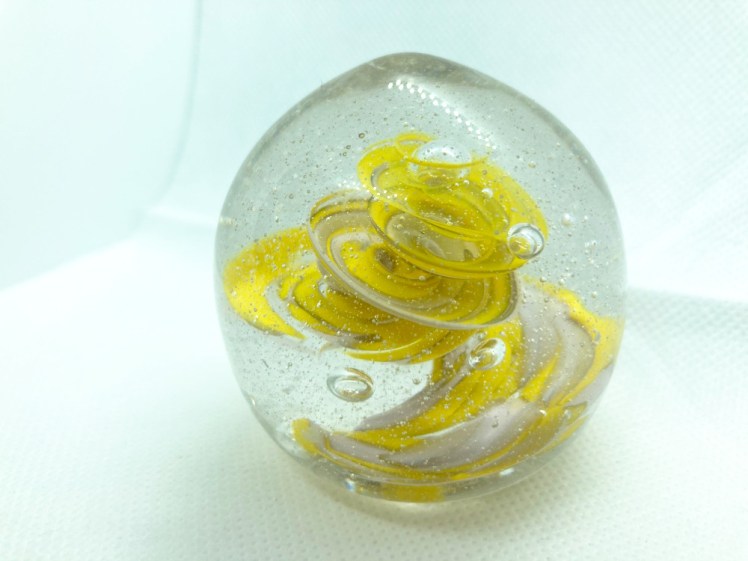
The yellow and pink swirls in my paperweight are quite opaque. That’s quite likely to be a feature of those two colours but it’s possible it’s that the swirl is treated differently to the bubble.
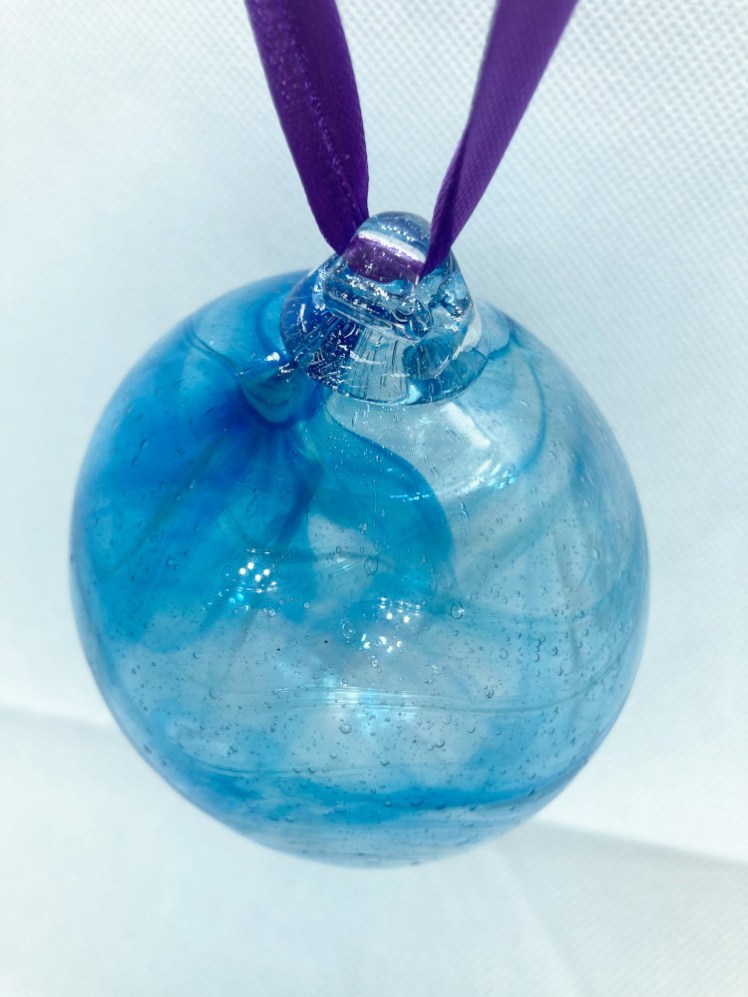
The blues in my bauble are both translucent and while it’s clearly a blue bauble, the swirls aren’t as clear and obvious as I was hoping. Maybe I should have used the colours the other way round. Apart from anything else, the paperweight is going on a desk in a blue-themed room. The bauble isn’t as gossamer-thin as I thought it was. As I was blowing it up, it looked like a soap bubble but if you give it a tap, it’s clearly a reasonably chunky bauble. Weighs a ton because of that glass hook on top too.
I’m very proud of them. This is a glass bauble that I blew myself! This is a paperweight that I made! I twisted that spiral of coloured glass inside it! I made the glass ball around it! Have you ever made anything with molten glass? No? Well, I have!
To be completely honest, I don’t have paperwork sitting around on my desk that requires a paperweight. It’s going to live here anyway, even if I have to make a pile of paper. I’m not sure about the bauble yet. Where can I hang it where it’s going to be 100% safe? Not anywhere on a Command hook. I’m a big fan of those things but I’m not entrusting my precious hand-blown bauble to one.
Wow, very professional. Thanks for all the detail.
LikeLike