All visitors to Iceland go to the Blue Lagoon. It’s amazing, entirely worth the hype and it’s now so, so expensive. I’ve been several times and I now bring you a short “how to…” blog because apparently I know the answer to a great and mythical secret: How do the lockers at the Blue Lagoon work?
Because I’m still seeing this question going round – including a Guide to the Blue Lagoon on Pinterest today that features the advice “don’t stress that you can’t figure out the lockers in the locker room – no one can.” Well, I can.
Last updated February 2023, by the way. It’s no different to how it worked in 2018 when I first wrote it, or 2011 when I first went, but the wristbands are better quality these days.
Step one
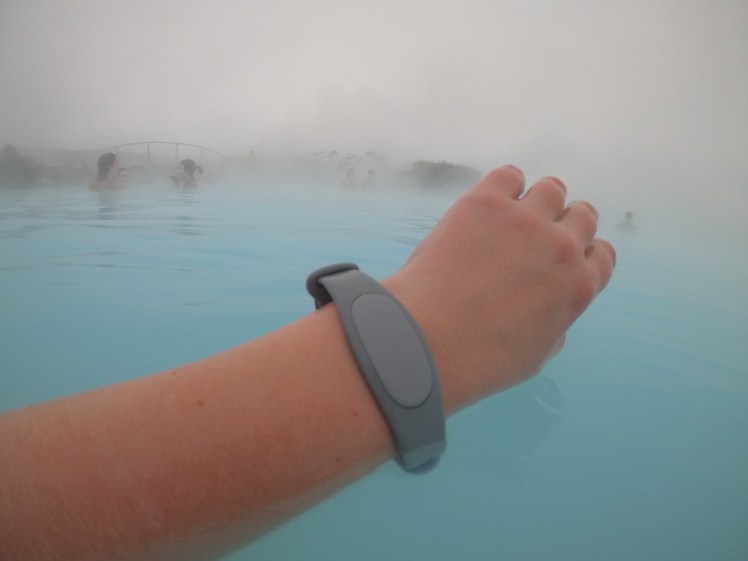
When you arrive, you will be given a silicon wristband. The colour depends on which package you’ve paid for, which locker room you’re using and possibly on age, ie whether you’re a child or not. This wristband contains a chip. Do not lose it, this is your everything today and they will charge a fortune to replace it. This will allow you access to the pool, control your locker (see below!) and act as a credit card for buying food, drinks & skincare in the water.

Step two
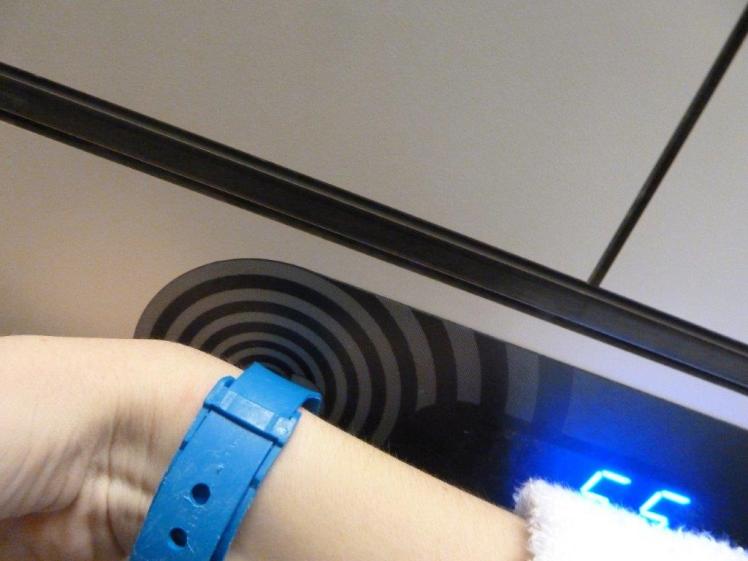
Follow the people past the desk and towards the changing rooms. You’ll be stopped by a turnstile. It has a circle pad on it. Press the top of your wristband to it and the turnstile will let you through. Now you’re in! You have to figure out which changing room is yours using the Blue Lagoon’s weird stylistic symbols or by going where staff point you.
Step three
In the changing room, obviously, take off your clothes and take out your towel and swimsuit. You won’t need them until the Obligatory Naked Shower so no need to put them on just yet (I mean, you can if you want. And the management understands that you’re petrified of public nakedness so there are private shower cubicles. But please do wash naked, you don’t know how grubby you really are).
Step four
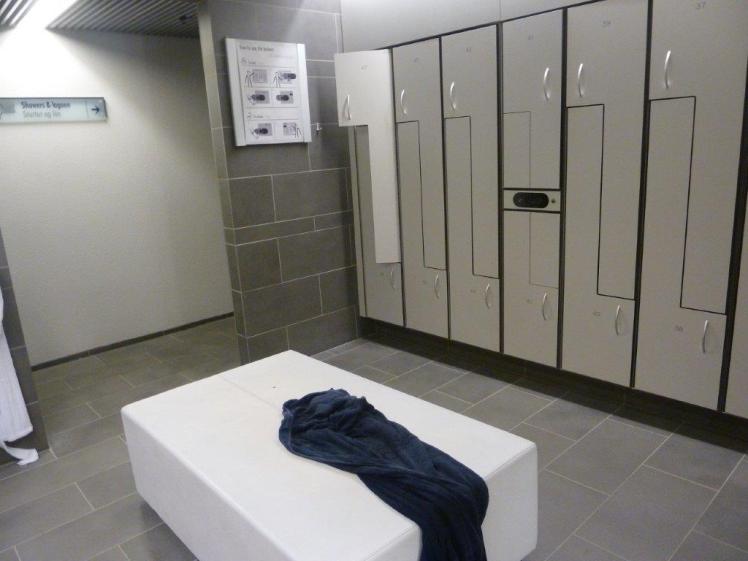
Find a vacant locker. Any locker. You can tell it’s vacant because it’ll be open. They won’t click closed unless they’re locked so if it’s available it’ll be open. Put your clothes inside. Don’t put your towel/robe inside, you’ll want them while walking around the pool. The lockers are L-shaped so there’s room to hang things up as well as place bulkier items. I usually go for a top one (leave suitcases in the huge lockers out in the car park).
Step five
Locate the lock panel. This is a small electronic screen, about the size of a postcard, probably blank and black right now. All banks of lockers have a panel in the middle. It’s the black rounded rectangle in this picture. This one serves all the visible lockers.

Step six
Close your chosen locker. No need to slam. It will temporarily lock, the panel in the centre will light up with the number of the locker that’s just closed and give you a countdown. Touch your bracelet to the panel. This will tell the system that this locker and this bracelet are now one and it will lock the locker permanently. If you’re not quick enough, the locker will pop open again and you’ll need to have a second go.

Step seven
Test the system by waiting until the panel goes black again and then touching your bracelet to it. The panel will remember which locker the bracelet is now key to, flash up the number and then release its door.

Step eight
Secure in the knowledge that it all works, go into the water! You can open and close the locker as many times as you like while you’re there. Just don’t drip water into the changing rooms when you do or you’ll get shouted at – these are changing rooms, not drying rooms.
Step nine
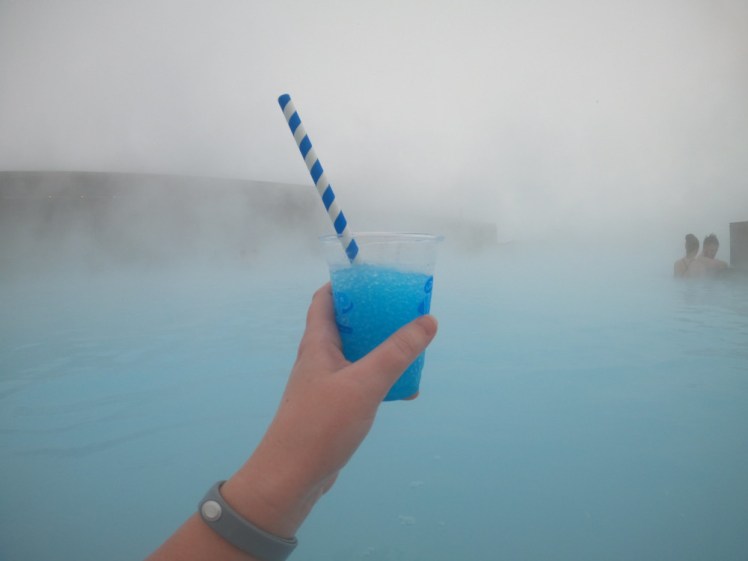
This one is optional but while you’re in the water, you can use the wristband to pay for drinks and food. If you’ve gone for the Premium package, you can also get two extra masks using it. In all cases, you swim up (or walk up, in the case of the little cafe inside), choose what you want and hold out your arm. The person behind the counter will reach out with a little NFC reader and hold it over your bracelet to take payment in the case of food and drinks, or just to verify your booking package if you’re after the extra masks.

You can buy unlimited soft drinks and snacks and you can even buy waterproof phone cases. Each wristband is limited to three alcoholic drinks because drunkenness and pools don’t go together. I presume under-20s are barred from buying any alcohol (hi Americans, drinking age in Iceland is 20).
Step ten
When you leave, if you’ve bought anything on the wristband, you need to pay it off. You can either present it at the desk or you can take it to the machines. If you do the self-service option, it’ll ask you to scan your wristband on the panel and then show you how much you owe. Pay it off using your bank card in the usual way, as if you’re in an ordinary shop, and go to the turnstile. There’s a shallow circular hole on the side of it. Coil your wristband neatly inside and when it detects that, the hole will close, swallowing up the wristband, and the gate will open, allowing you to leave. If you haven’t paid it off, it won’t open. Go back and pay.
Ta-dah! Now you know how to use the lockers!
Now, I know this explanation is worth the price of a coffee to you – imagine yourself getting stressed at the Blue Lagoon because you can’t work the locker and throw me a few pennies for saving you from that.
3 thoughts on “How do the lockers work at the Blue Lagoon?”